
Overview
Initially, the standard reports that are provided with SEOM print on the default printer of the current (local) workstation. If the program is being used on a LAN, it might be preferable to have all reports of a specific type print on the same shared printer rather than at each workstation. For example, if a special form is being used to print Invoices or Packing slips, it is would be simplest to have that special form placed in a specific tray of a single printer that can be accessed by all workstations in the LAN.
Changing a an MS Access Report to Print on a Specific Printer
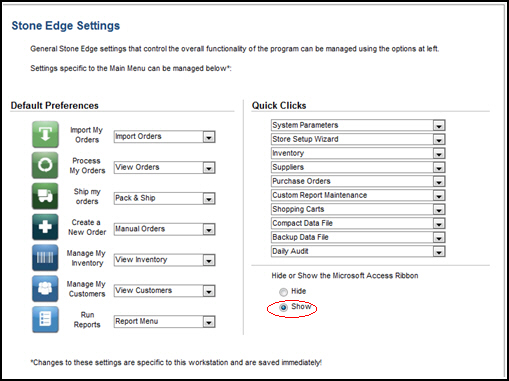
- Make sure the program is set to Show the Microsoft Access ribbon before beginning this process. Main Menu>Settings>Hide or Show the Microsoft Access Ribbon.
- From the Main Menu, press the F11 key to open the database window.
- Select (single click) the Reports group from the left-hand navigation pane labeled Objects.
- Select (single-click) the report to be modified.
- From the File menu, select Page Setup and then click the Page tab.
- Click Use Specific Printer.
- Click Printer and select the preferred printer from the drop-down list.
- Click OK twice to exit the Page Setup screen.
- Minimize the database window.
- Making a change such as this, is in fact creating a custom report. To retain the change that was made, especially after upgrading the program to a different version, make sure that this report is given a different name than the standard report name with which it is shipped, and save it in the Custom Reports database.