
Overview
- Standard Process
- Header Template is optional but useful to provide merchant account information.
- Fulfillment templates have 40 fields to input information
Create a Header Template
- Navigate to the Fulfillment Centers screen
- Click “Export Templates” in the top right corner
- Click “New”
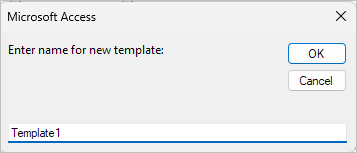
- Name the template and click “OK.”

- Toggle “Include Field Names” if field names will be included
- File Type and Insert header options will be ignored
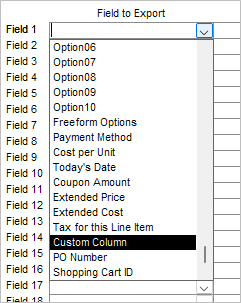
- In the table, choose “Field 1”
- Use the dropdown under “Field to Export” and select “Custom Column” near the bottom of the list.
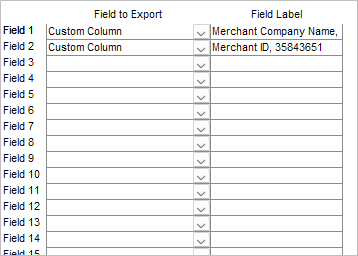
- Under “Field Label,” enter “Field Name” + comma + static text
EX: Merchant Company Name, Wholesale Toy Center
- Use the dropdown under “Field to Export” and select “Custom Column” near the bottom of the list.
- Repeat “Custom Column”s for any extra information
- Click “Save” in the upper right-hand corner when done
- Click “OK” and “X” to exit the window
Create a Fulfillment Template
- Navigate to the Fulfillment Centers screen
- Click “Export Templates” in top right corner
- Click “New”
- Name the template and click “OK.”
- Choose to save the file as .cvs or .txt(tab-delimited)
- Toggle “Include Field Names” if field names will be included
- Use the dropdown to select “Header Template” recently created
- Click to insert header once per file or for each order
- Click to choose how multiple items are shown

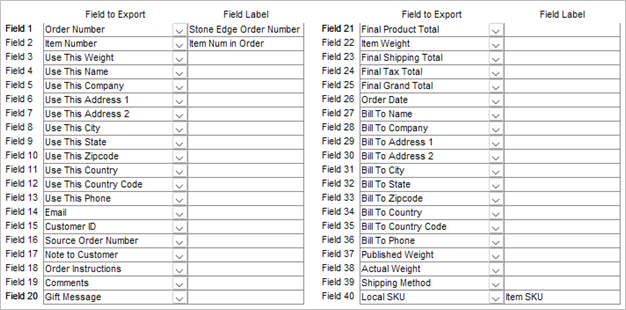
- In the table choose “Field 1”
- Use the dropdown under “Field to Export” and select Field for the template
- Enter ”Field Label” to change the column header in the created document
- Repeat for all desired fields
*Click “Set to Standard Fields” to quickly populate the table*
- Click “Save” in the upper right-hand corner when done
- Click “OK” and “X” to exit the window
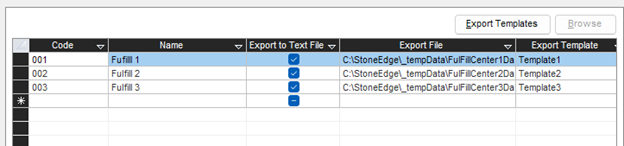
Define a Fulfillment Center
- Navigate to the Fulfillment Centers screen
- Click the empty cell under the “Code” column to start a new entry
- Fill information:
- Code -> Create code for the fulfillment center
- Name -> Create a name to identify the fulfillment center
*A Code + Name must be entered to save entry* - Export to Text File -> toggle on if sending text files manually to the fulfillment center
- Export File -> Click “Browse” in the top right corner to set the destination of the created file
*File name must be defined as part of the file path and a blank file created beforehand* - Export Template -> dropdown to choose the created template
- Send Email -> toggle on if an email should be sent during export
- Email Template -> dropdown to choose from pre-defined templates
- Email Address -> enter if choosing to send email
- Repeat for all fulfillment centers
Set Inventory to Fulfillment Centers
- Main Menu -> Manage My Inventory -> View & Manage My Inventory
- Filter or Search for a specific item
- Click “Edit” in the top-right corner
- Find “Fulfillment Ctr” near the bottom of the page
- Use the dropdown to select the fulfillment center from the list
- Click “Save” in the top-right corner
- Repeat for all items in Fulfillment Center
Process Orders
- Main Menu -> Process My Orders -> View & Process My Orders
- Filter or Search for a specific order
- When the order is Approved, data will append to a text file or email to the defined email address.
NOTE: The file must be renamed or moved to a different folder, or data will always append to the current file.