
Multi-Order Processor
NOTE: Screenshots taken from Windows 11, Access 2021, and Stone Edge version 7.730
Overview
- The Multi-Order Processor is used to process a group of orders in a batch
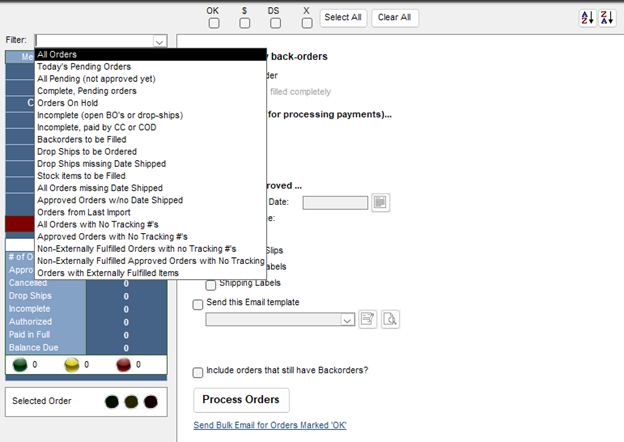
- The program provides Quick Filters to limit the types of orders that are displayed on the Multi-Order Processor screen
- Even when a list of orders is produced in the right-hand pane of the Multi-Order Processor, the user can still limit the orders that will be affected by selecting specific actions for specific orders.
- Actions that can be performed on this screen include:
- Approving orders.
- Pre-authorizing or capturing credit card payments.
- Setting actual ship dates.
- Placing drop-ship orders.
- Adding orders to be printed in the batch print queue.
- Sending confirmation or cancellation email.
- A summary is provided at the end of batch processing to indicate the success or failure of each function.
- The notes field is used to find more information about any failures.
- Clicking “Close” in the top-right corner before processing orders do not save anything.
Navigate to the Multi-Order Processor
- Main Menu.
- Process My Orders -> Multi-Order Processor.
The Multi-Order Processor Screen Technical Guide
Click this link to learn more about the Multi-Order Processor Screen!
Using the Multi-Order Processor
- Open the multi-order processor.
- Use the filters, search, or advanced search to display orders in the table.
- Information in the table can be compounded using advanced search and choosing “No” on the “Clear List” pop-up displayed when doing a new search.
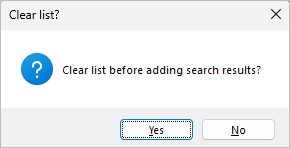
Note: The information displayed in the table cannot be changed, and any changes will need to be done on the normal “View & Process Orders screen”
- Information in the table can be compounded using advanced search and choosing “No” on the “Clear List” pop-up displayed when doing a new search.
- Review order information by going to different categories/tabs in the side accordion menu
- Clicking on a row or cell to highlight for reference will persist over each tab.
- Columns can be expanded by dragging where the edge of the column is or double-clicking the edge.
- Clicking the “Line Items” and “Notes” tabs will show the information for the order that was last highlighted on the previous tab.
- The custom field tab will only be available if custom fields are set up.
- If an order must be looked at in greater detail, use the “View Order” button in the top-right corner to open the view orders screen. Clicking “Close” after in the top-right corner will return to the multi-order processing screen.
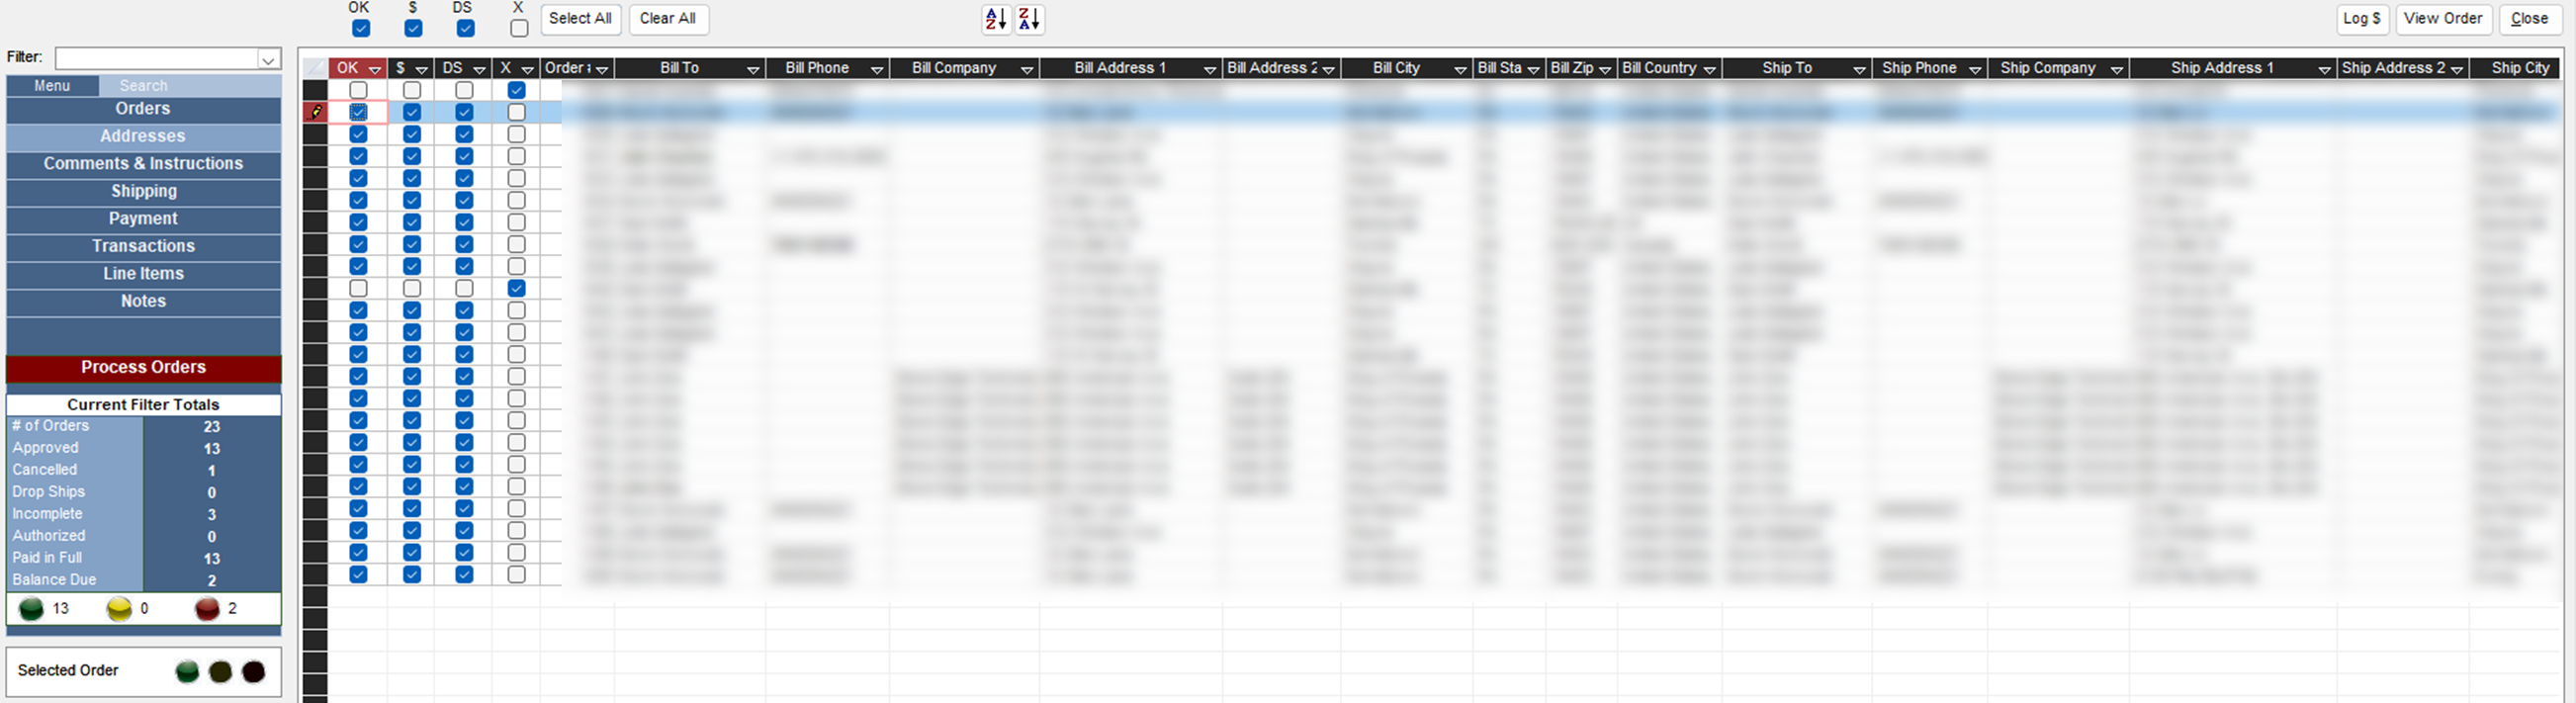
- For each order, checkmark the corresponding box in each row for an effect:
- OK -> Approve the order
- $ -> Process payment
- DS -> Mark for drop-ship
- X -> Cancel order
- Use the buttons above the table to checkmark all boxes in that column for the orders in the table.
- Use the “Current Filter Totals” table and “Stop Lights” for quick overviews of information.
- When ready to process changes, click “Process Orders” from the side menu.
- Change the default options if desired.
- Click the “Process Orders” button to update orders.
- Click “Send Bulk Emails for Orders Marked ‘OK’” if orders are not to be processed, but emails should be sent.
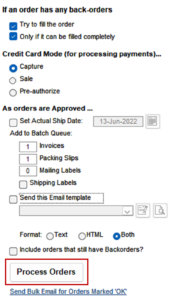
- Click “Send Bulk Emails for Orders Marked ‘OK’” if orders are not to be processed, but emails should be sent.
- A Pop-up appears when the process is finished with a brief overview of what was done.
- Click “OK” to close the pop-up. 
- Click “Close” in the top-right corner when done using the multi-order processor.
- To process more orders, change the filters to display more orders.
- The table will not refresh/clear any data on its own or clear any checkmark options.
- Current Filter Totals will not refresh until the table is refreshed.
- To refresh the screen:
- Close and reopen the multi-order processor.
- Choose a new filter option and choose “Yes” when asked to clear the list.