Overview
- The Security Options screen is accessed by going to Main Menu > Settings > System Functions > Security Options.
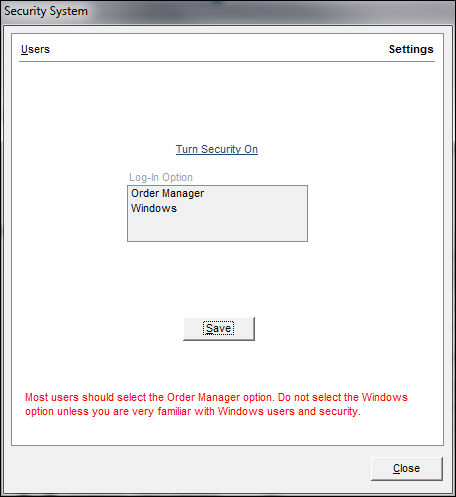
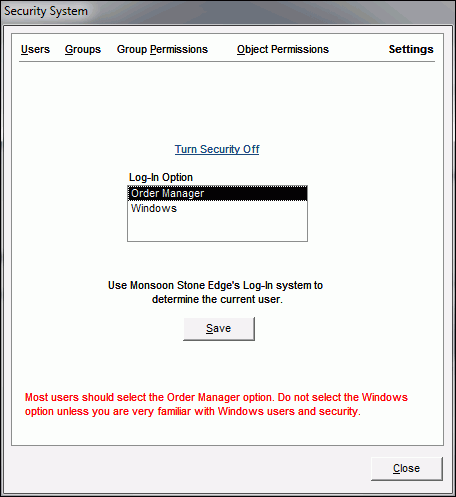
- The Settings tab is the default view of this screen and is where the Security System is enabled or disabled.
- It is highly recommended to use the Order Manager Log-In Option.
Description of the Settings Tab

Security screen
Settings Tab
Turn Security On/Off Link
- select this link and then Save to enable or disable the Security System

Log-In Option
- select Order Manager and then define users, groups and set their permission levels on the other tabs of this screen
- do not select the Windows option unless you are very familiar with Windows users and security
Save Button
- select this after making changes to the settings on this screen
Users Tab
- this tab is not visible until the security system is enabled
- used to create new users or change the characteristics of existing User IDs or the groups to which they belong.
- if you have defined Packers or Sales People through the Setup Guide, that information can be imported into the Security System by clicking Import Packers & Sale People.
Groups Tab
- this tab is not visible until the security system is enabled
- the program provides four basic Groups (Cashiers, Power Users, Packers and Sales People) that already have basic permissions assigned to them
- you can also create your own user groups and define their permissions
- permissions are generally assigned to user groups and then users are assigned to the Group that has the appropriate level of access for them to perform their job function
- for example, Packers do not usually need the ability to run credit card transactions and therefore would not belong to the same Group as Sales People
Object Permissions Tab
- this tab is not visible until the security system is enabled
- use this tab to view the permissions for screens and reports
Close Button
- exit the Security Options screen
