
Overview
- This topic discusses the Pack & Ship screen, which records packing data as items are added to a shipping container and prints shipping labels from the shipping carrier’s integrated software.
- Another advantage of the Pack & Ship screen is that product images can be displayed at the packing station to help reduce packing errors.
- How to use the Shipping Screens in the Standard shipping process? Follow the step-by-step instructions: 7.7xx Standard Shipping Process Step by Step – Stone Edge Order Manager.
Navigation
Main Menu > Ship My Orders
Search View
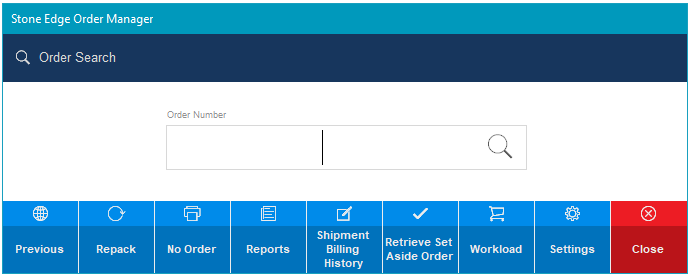
- Order Number – enter the order number to load the order.
- Previous
- Click HERE to find out more.
- Repack – click to open the search box for the order number.
NOTE: Feature must be enabled by system parameter PackingAllowRepack.- Choose a Packer will be prompted if not chosen.
- Enter Order # existing packing data will be cleared.
- No Order – clicking this opens a form to print a shipping label without an order

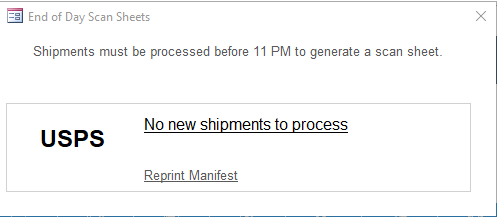
- Reports – Click open the end-of-day scan sheets.
- You will see options for the three supported Carriers when shipments are present.
- Shipment Billing History
- Click HERE to find out more.
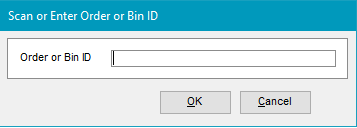
- Retrieve Set Aside Order – click open search for order num/bin ID.
NOTE: Order can be scanned to populate.
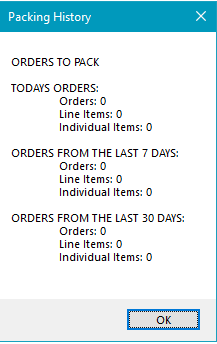
- Workload -> click opens packing history pop-up
- Today’s Orders -> numeric amount left to fill
- Orders from the last 7 days
- Orders from the last 30 days
- Settings – click open shipping setting options.
- Click HERE to find out more.
- Close – click close shipping screen and returns to Main Menu
Left Hand Side
NOTE: Buttons only work once the main search box has populated an order.
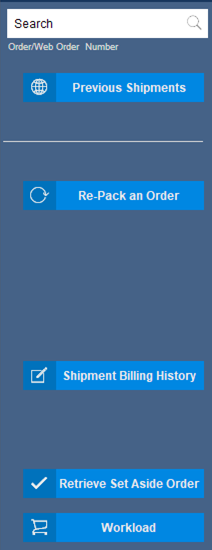
- Search Box – enter the order number to load the order
- Previous Shipments
- Click HERE to find out more.
- Re-Pack an Order – click to open the search box for the order number
NOTE: Feature must be enabled by system parameter PackingAllowRepack- Choose a Packer – will be prompted if not chosen.
- Enter Order # – existing packing data will be cleared.
- Shipment Billing History
- Click HERE to find out more.
- Retrieve Set Aside Order – click open search for order num/bin ID
NOTE: Order can be scanned to populate - Workload – click open packing history pop-up
- Today’s Orders – the numeric amount left to fill.
- Orders from the last 7 days.
- Orders from the last 30 days.
List View

- Refresh List
- Clear Filter – click to clear filters defined on the left side.
- Table Information – information displayed on screen for orders available to pack&ship.
- Order
- Order Date
- Order Source
- Requested Shipping Method
- Address Information
- Zip Code
- State
- City
Left-Hand Side
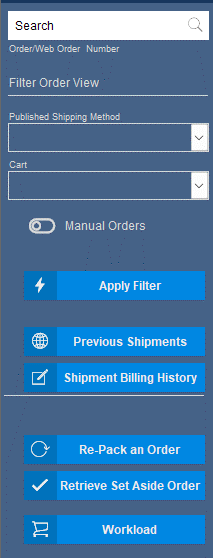
- Search – enter the order number to load the order.
- Filter
- Published Shipping Method
- Cart
- Manual Orders
- Apply Filter – click to apply the above filters
- Previous Shipments
- Click HERE to find out more.
- Shipment Billing History
- Click HERE to find out more.
- Re-Pack an Order– click to open the search box for the order number.
NOTE: Feature must be enabled by system parameter PackingAllowRepack.- Choose a Packer – will be prompted if not chosen.
- Enter Order # – existing packing data will be cleared.
- Retrieve Set Aside Order – click open search for order num/bin ID.
NOTE: Order can be scanned to populate. - Workload – click open packing history pop-up
- Today’s Orders
- Orders from the last 7 days
Upper right Corner
![]()
- Lightbulb – click open form for user feedback
- Paper -> click open end-of-day scan sheets
- Options can be clicked to print.
- Printer – click open the form to print a shipping label without an order.
- Gear Icon – click open shipping setting options.
- Click HERE to find out more.
Right Side of Screen
NOTE: Must have an order selected to for rate shopping to be active
- Packed By
- Save Pack Data -> enables packing interface for when order selected

- Order
- Header
- Order
- Status
- Ship via
- Summary
- Source -> shopping cart or manual
- Order Date -> date order placed
- Product Total
- Shipping Total
- Tax Total
- Grand Total
- Balance -> amount due
- Maxmind -> click to get fraud score
- Customer Info
- Profile -> click opens customer profile
- @ -> click opens email template with customer info populated
- ! -> click allow edit “Ship To” address
- Sold To -> customer contact info
- Ship To -> shipping address
- Items
- SKU
- Item Name
- Dimensions -> filled if entered in item details
- Weight -> filled if entered in item details
- QTY -> amount customer ordered
- Header
![]()
- Tracking – lists current tracking numbers, shipping provider, and date shipped.
NOTE: click the tracking number to open with the web browser.- Reprint – print a new shipping label.
- Void – void specific tracking number.
- Notes
- Comments
- Instructions
- Gift Message
- Notes
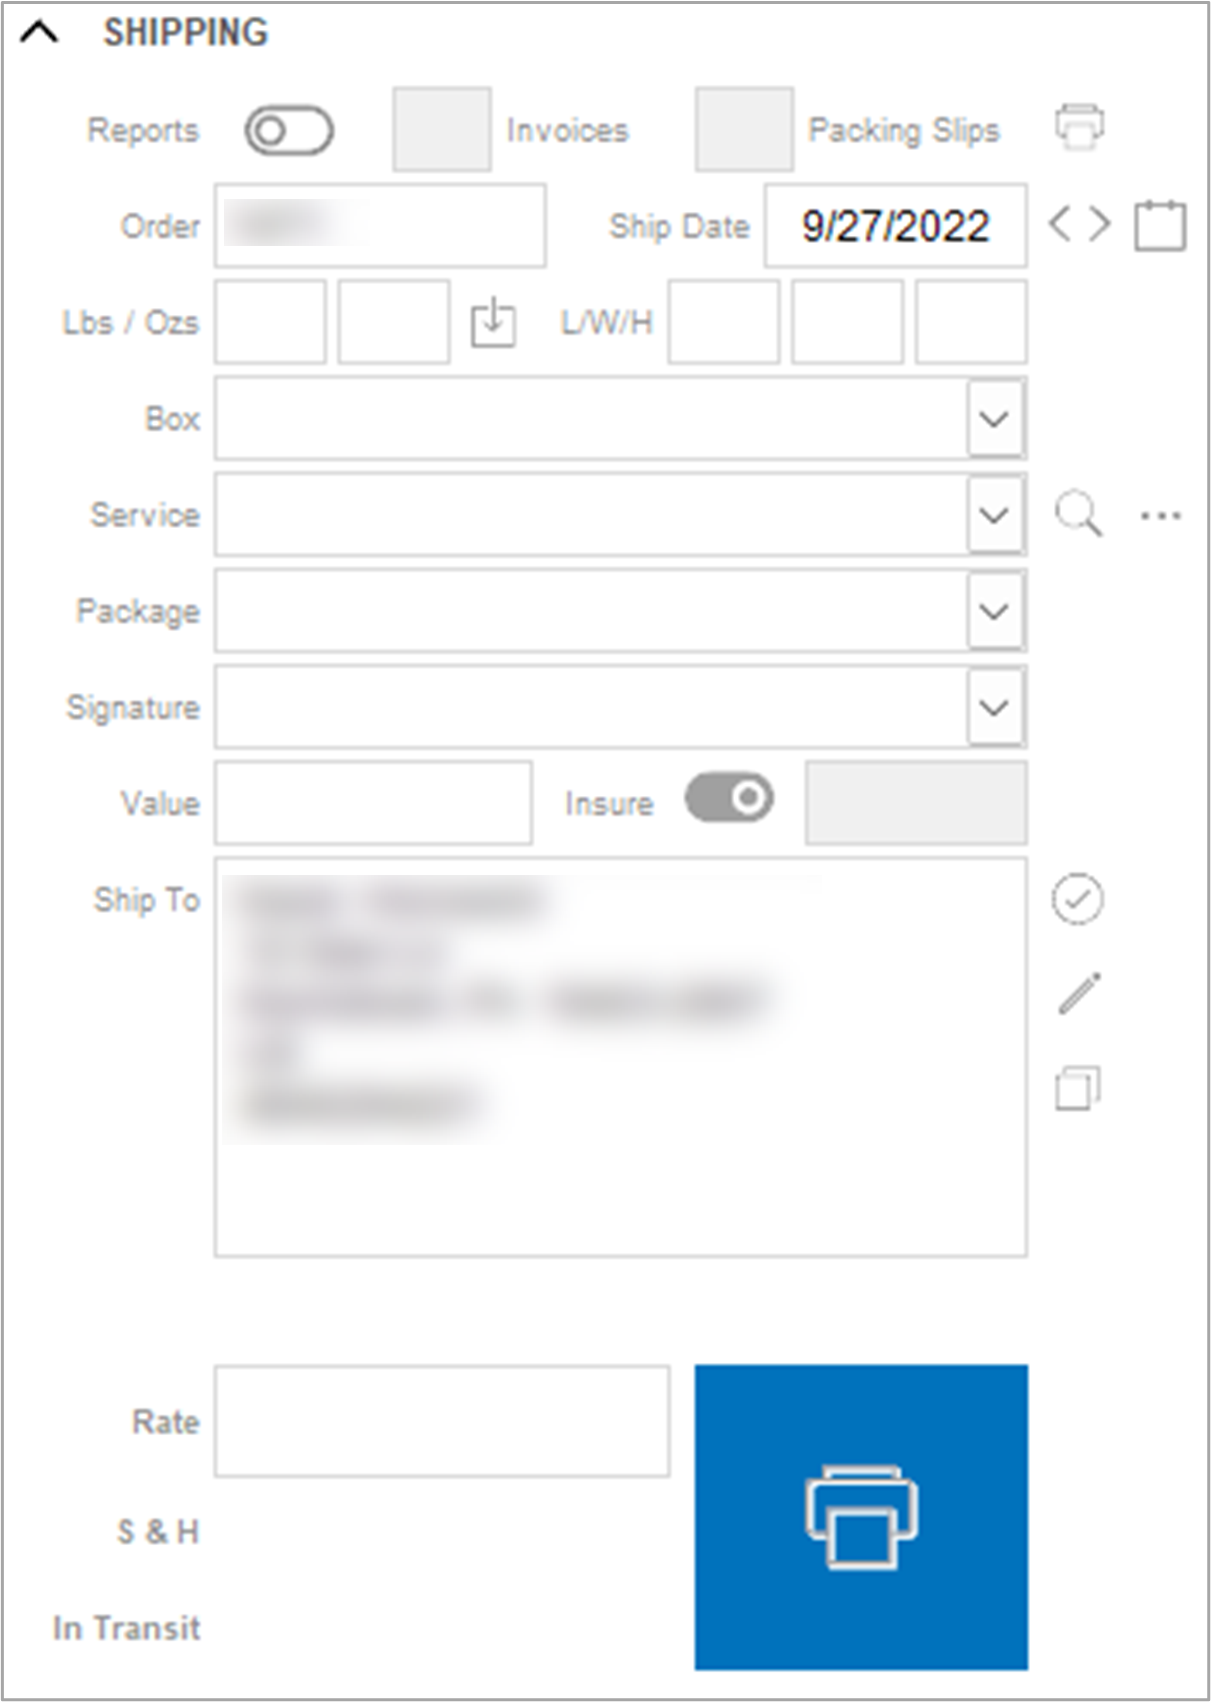
- Shipping
- Reports – Toggle to print reports when label printed
- Invoices.
- Packing Slips.
- Printer – prints defined reports.
- Order – Stone Edge order number.
- Ship Date – default is the current date.
- Lbs/Ozs – can be attached to a scale.
- L/W/H – automatically filled if using a box.
- Box – dropdown for predefined boxes.
- Service – based on mapped services.
- Magnify glass – click to rate the shop.
- ●● – click to rate shop all options.
- Package – optional, depending on shipping service.
- Signature – default based on shipping settings; can be manually changed.
- Value – default based on shipping settings; can be manually changed.
- Insure – toggle to use insurance.
NOTE: Insurance covered by U-PIC – Click HERE to learn more.
- Insure – toggle to use insurance.
- Ship To – billing address.
- Rate – click refresh to rate shop.
- S & H ->shipping charge + added fee (based on parameters. ShipHandlingFeeAmount and ShipHandlingFeeType)
- In Transit -> after the rate shop will list TNT.
- Print -> click to print the shipping label.
- Reports – Toggle to print reports when label printed
- Items
- Product -> SKU and item name
- Quantity -> how many of the items on the order
- … – click for more item info
- Price
- QOH

Packing Interface
Note: Must be enabled by toggling “Save Pack Data.”
- Item List
- Item -> SKU and name
- Ordered -> quantity on order
- Shipped -> quantity to be shipped
- Packed -> quantity currently packed
- Serial Number -> to be filled if the item requires
- Location -> location in the warehouse
- Options -> if the item has any options
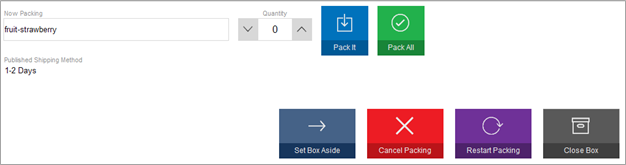
- Now Packing -> SKU
- Quantity -> Use arrows or keyboard to enter numbers
- Pack It -> packs quantity entered of the current item
- Pack All -> pack the full quantity of the current item
- Published Shipping Method -> shipping method was chosen for the order (previously defined during order creation or import)
- Set Box Aside -> click to save packing data, but not print label yet
- Cancel Packing -> click to return to the main shipping screen
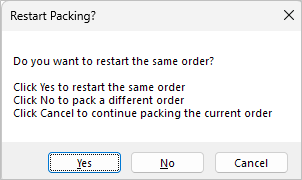
- Restart Packing -> click to redo the current order
- Close Box -> click if using multiple boxes for one order
NOTE: The shipping label for the current box must be printed before moving to the next box unless the box is set aside.