Follow the instructions below to define Product Attributes (Options) for an already created product in Miva Merchant 5.x.
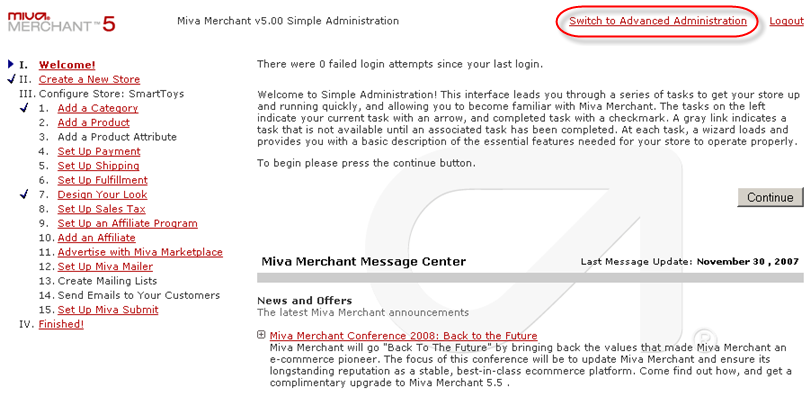
If you are using the Simple Administration mode, switch to Miva Merchant’s Advanced Administration mode by clicking on the “Switch to Advanced Administration” link on the top right corner of the page.
Note: We recommend using Miva Merchant’s Advanced Administration mode when creating products. Doing so gives you more control over the Attribute and Product Codes used by Miva Merchant. If you use the Add Product Wizard, Miva Merchant will set the Codes to match the Prompts you enter and could cause problems when you import your orders into the Order Manager.
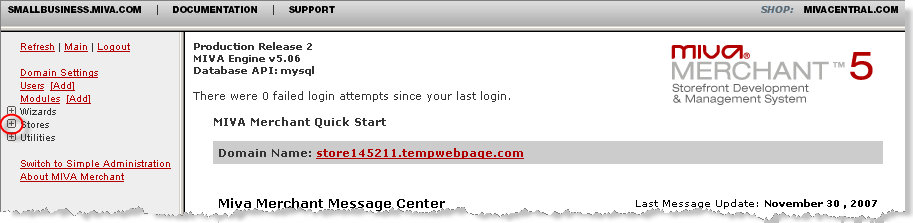
In the Navigation pane of the Advanced Administration mode, expand the "Stores" section by clicking on the corresponding plus sign "(+)."
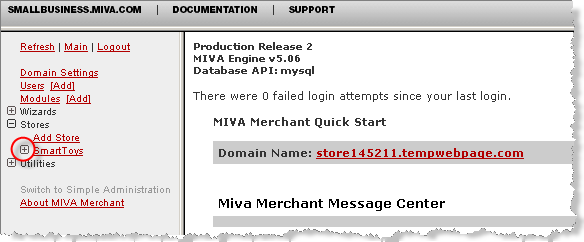
Under the "Stores" section, expand the STORE_NAME that includes the products that you want to add Product Attributes to.
Note: In our example, the Store Name is "SmartToys."
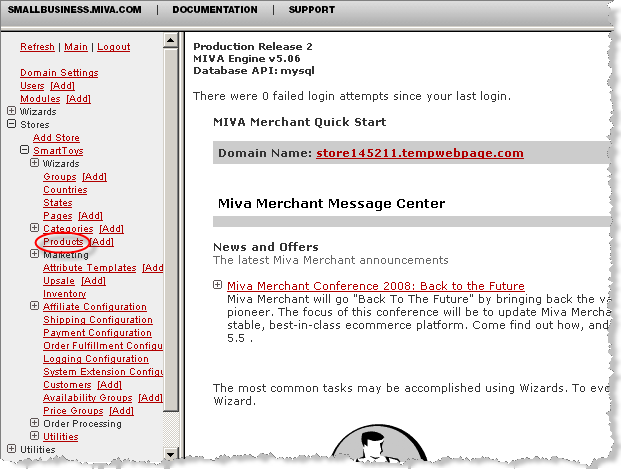
Under the "STORE_NAME," click on the "[Add]" link corresponding to the “Products” link.
Select the product that you want to add the Product Attribute(s) to. To find a product, enter the product-related search term in the "Search" text box and click on the "GO" button.

Note: You can search by Product Code, Product Name, words contained in the Product Description, Cost, and Price. The results will include the products with characteristics containing the entered search term (in the beginning of a word or as a part of a word).
The search results only include products that contain the search term in the selected "Display" characteristic(s). For example, if the “Description” check box is not selected, the search results will not show products with the search term in the product "Description."
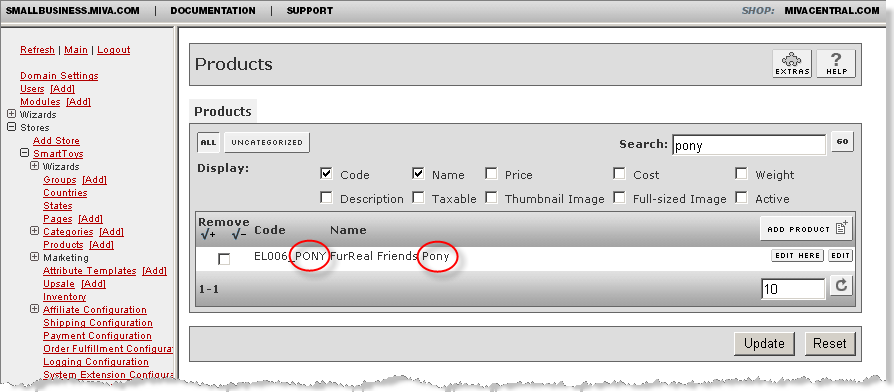
6. Review the products listed in the table to find the appropriate product.
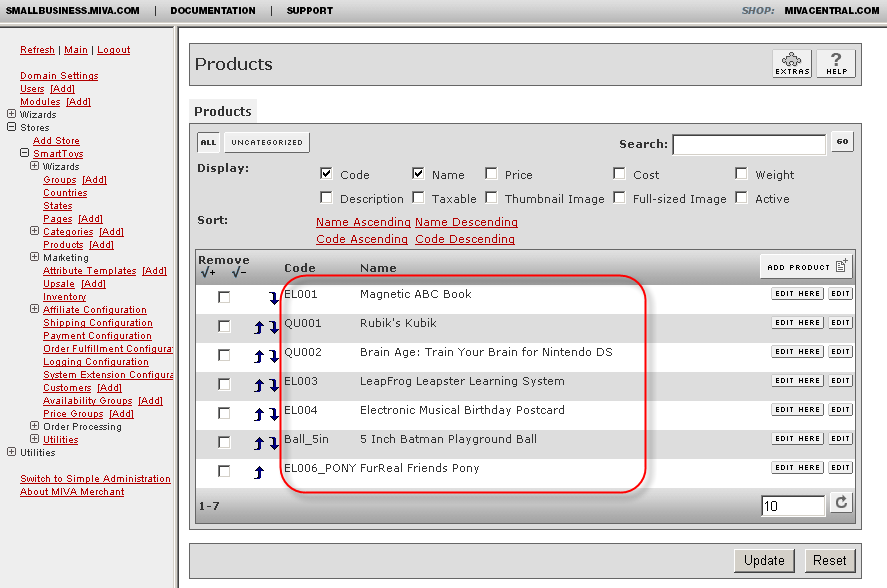
7. Click on the “Edit” button corresponding to the product you want to add Product Attributes to.

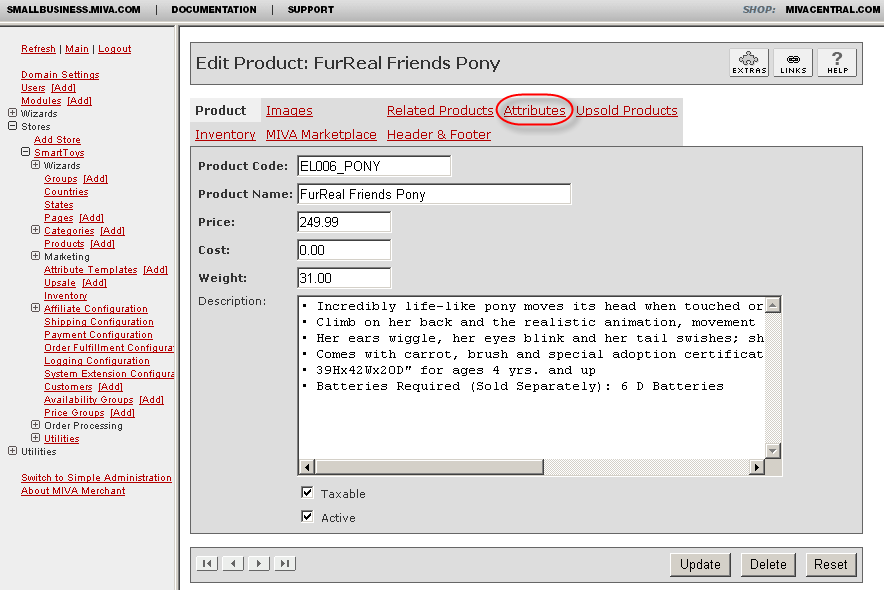
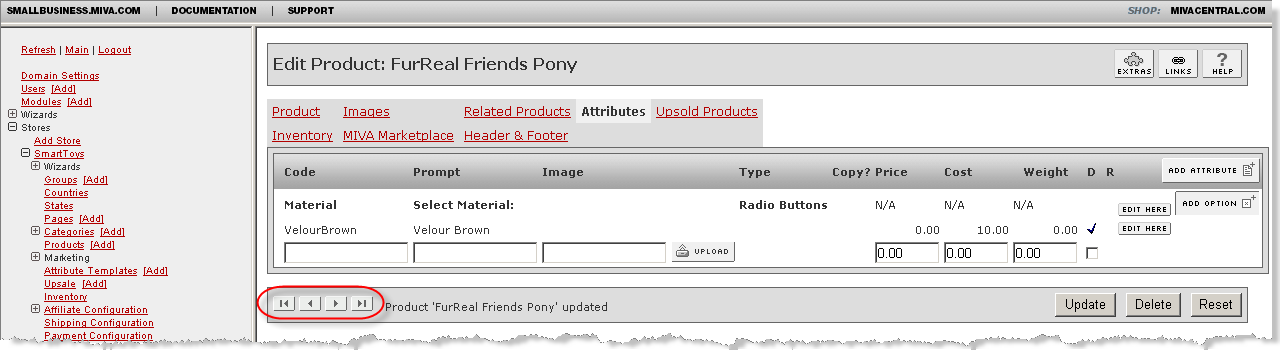
8. When the “Edit Product” page loads, click on the “Attributes” link.
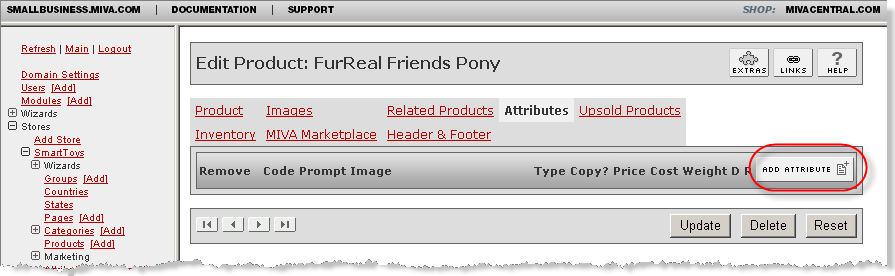
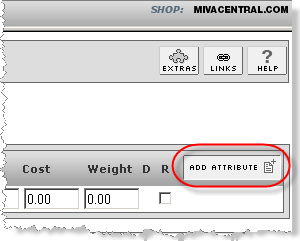
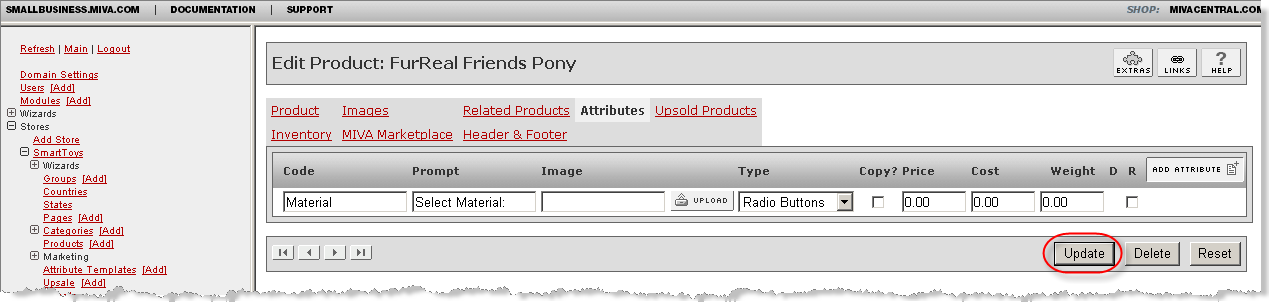
9. The list of existing Attributes of the current product will be displayed. Click on the “Add Attribute” button.
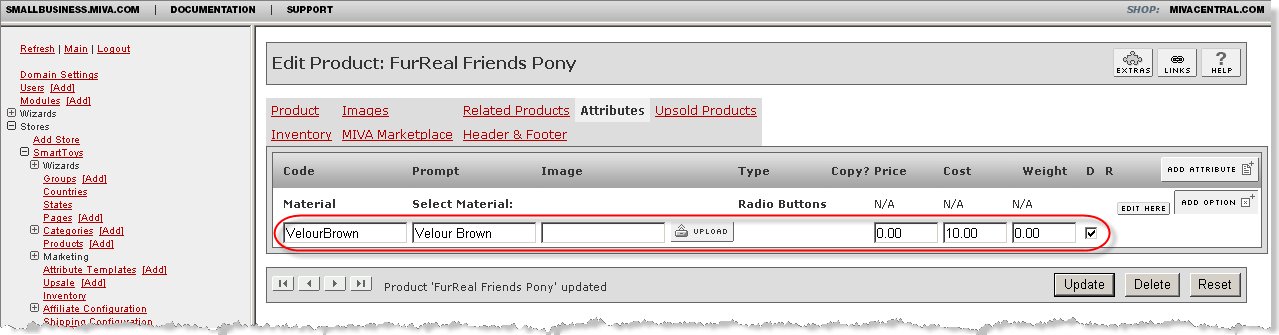
10. Enter the Product Attributes in the appropriate fields as described below.
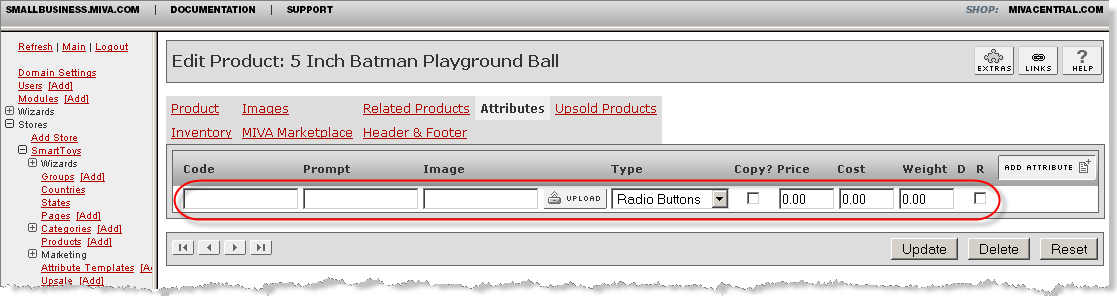
Note: When the "Add Attribute" button is selected, you are in edit Attribute mode.
Define the following Product Attributes:
Code - The Code can contain upper and lower case letters, numbers, dashes (-), and underscores (_).
Note: This restriction is managed by the "Domain Settings" > "Site Configuration" > "Use Strict Validation for Codes" check box.
Your customers will not see the Code. Your customers will see the contents of the Prompt field. However, the Code will be displayed during the check-out process
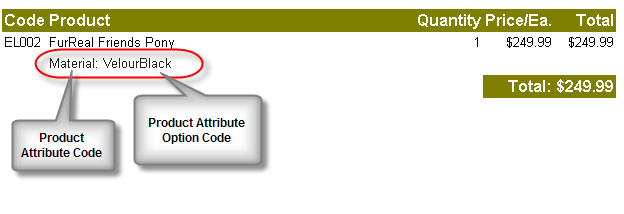
The information you enter for the Code will be returned to the Order Manager as an Option Name. The Code should be simple and descriptive (e.g. Color or Size).
Miva Merchant Attribute Code = Order Manager list name
Miva Merchant Attribute Option Code = Order Manager option name (partly or fully used to build Sub-SKU)
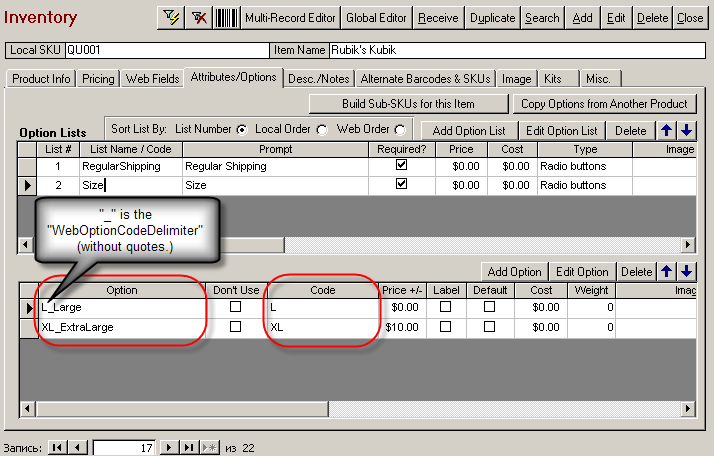
You can use the WebOptionCodeDelimiter to limit the text added to Parent SKU. This delimiter allows you to divide the Option to be included in the Sub-SKU from the Option that will not be included in the Sub-SKU. WebOptionCodeDelimiter allows you to make the code self-explanatory. After import into Order Manager, you will not be able to see the prompt message. You will only be able to see the code for every attribute option. When creating Sub-SKUs, the Order Manager takes the first part of the Code before the WebOptionCodeDelimiter.
Example: The web Options might include XL_ExtraLarge, L_Large, Fast_Add20, Slow_Add10, where "_" is the WebOptionCodeDelimiter. The Sub-SKU will be ParentSKU-XL-Slow. The WebOptionCodeDelimiter is defined in the Order Manager System Parameters. See image below
Note: If you want to include the Price in the Code, divide the Code by the WebOptionPriceDelimiter. (The WebOptionPriceDelimiter is also an Order Manager System Parameter.)
Prompt - The Prompt is displayed on the product page where the shopper makes their selection. In most cases, the Prompt will be brief but the length is not limited. The Prompt field can be used to present terms and conditions that the customer is required to accept. Enter plain text to use the default formatting or enter HTML code to format the prompt as you like. The Prompt is not imported into Miva Merchant.
Image - You can use an Image in place of the Prompt to draw attention to the Option. For example, an extended warranty Option can be illustrated with an Image of a gold seal and ribbon and the word "Warranty." When an Image is used, the Prompt wording is used as the alternative or "alt" text that appears when the cursor is moved over the Image. This aspect is important for your shoppers who use screen reader software to navigate in your store. The Image will generally be displayed beside the Attribute selection field and below the product Price and shipping Weight. The exact position of the Image depends on the "Type" of Option selection (Check Box or Text Area) and your store design.
Type - Specify how the Attribute will be selected from the following Types in the "Type" drop down menu. Remember that only Radio Buttons and Drop-down Lists can be used for Sub-SKUs.
Radio Buttons - If the Attribute will have several options, select either "Radio Buttons" or "Drop-down List" from the "Type" drop-down menu. For example, Size may contain Small, Medium, and Large.
Use Radio Buttons for Attributes that offer several Options and when you want the shopper to be able to see all the Options at once and only select one (1) Option. For example, if you offer a coat in Denim, Velvet, Suede, or Corduroy, Radio Buttons show each of these choices. If you choose, each Option can include an Image as well.
Drop-down List - If the Attribute will have several options, select either "Radio Button" or "Drop-down List" from the "Type" drop down menu. For example, Size may contain Small, Medium, and Large.
Use a Drop-down List for sets of choices that are more predictable or longer. If you are selling maps and offer maps of every county in a given state, it would be easy for a shopper to locate the county they want in an alphabetical list.
Use a Drop-down List for common choices such as Small, Medium, and Large or a range of shoe sizes.
Check box - Can't be used for Sub-SKUs, except in certain circumstances.
Text Field - Can't be used for Sub-SKUs.
Text Area - Can't be used for Sub-SKUs.
Attribute Template Name - Existing Attribute Templates are included in this list according to the wording of their Prompt fields. To apply an Attribute Template to the product, select a template, check the "Copy?" field if needed, and click Update. There is no need to enter information in the other fields. Read more about Attributes Templates in 1.4 Creating Product Attributes Templates.
Copy? - If you have selected a template name in the "Type" field, then you can define how the template will be used. Check the "Copy?" box if you want to have a copied template. Do not check the "Copy?" box to use the referenced template. When the Attribute Template is referenced, a simple update to the Attribute Template is immediately applied to all products referencing it. When the Attribute Template is copied to a product, any future changes to the Attribute Template will not affect the Product Attributes.
Notice: If you are going to use a third-party module on Miva for attribute level tracking, then the referenced templates can not be used. Read more on this topic in 1.1 About Product Options (Attributes), 1.4 Creating Product Attributes Templates, and 2.3 Setting Up Inventory Tracking at the Attribute Level.
Price - Some Options will have a Price associated with them. For example, a shopper may be able to order a frame or no frame painting. Perhaps framing costs an additional $100.00. Only enter a Price for Attributes of the Checkbox or Text "Types." For Attributes that offer several alternatives such as Radio Buttons and Drop-down Lists, each Option can have a Price. The Prices will be specified when the Attribute Options are entered. For Options that reduce the Price of the product, enter a negative number. For example, when omitting one (1) item from a package deal.
Cost - Enter a Cost if you want to use Cost with the Price in your store. An Attribute Cost is used in the same way as the Product Cost to calculate Cost-based discounts or markups. Like the Attribute Price, the Cost can also be positive or negative.
Weight - Product Options can specify an increase or decrease in shipping Weight. For example, if you offer a granite pedestal with an origami sculpture, you can calculate the total shipping charge. Some Options will cause the product to weigh more or less. For example, your customers can order a theme mailbox with either a wall-mounting bracket or a 4 inch metal post. Use a positive number to add to the product Weight and a negative number to reduce the product Weight. As with Price and Cost, only enter a Weight for Attributes of the Checkbox or Text "Types." For Attributes that offer several alternatives such as Radio Buttons and Drop-down Lists, each Option can have a Weight. The Weight will be specified when the Attribute Options are entered.
D (Default) - Select the check box in the column under the letter "D" to specify which of the Options, if any, should be presented as the default choice.
R (Required) - Select the check box in the column under the letter "R" to require that the shopper make an entry before their order is accepted.
If you are selling T-shirts, you would want to know a size. You should select the "R" check box for the Size product options.
When the "R" (Required) check box is not selected, the customer has the ability to select the Option or not.
Example:
Attribute Option: Code: Size, Prompt: Select your size, Type: Drop-down list, Required=Yes
Note: You can use an Attribute Template that was previously created, by selecting an Attribute Template from the “Type” drop down menu. Read more in Creating Product Attributes Templates.
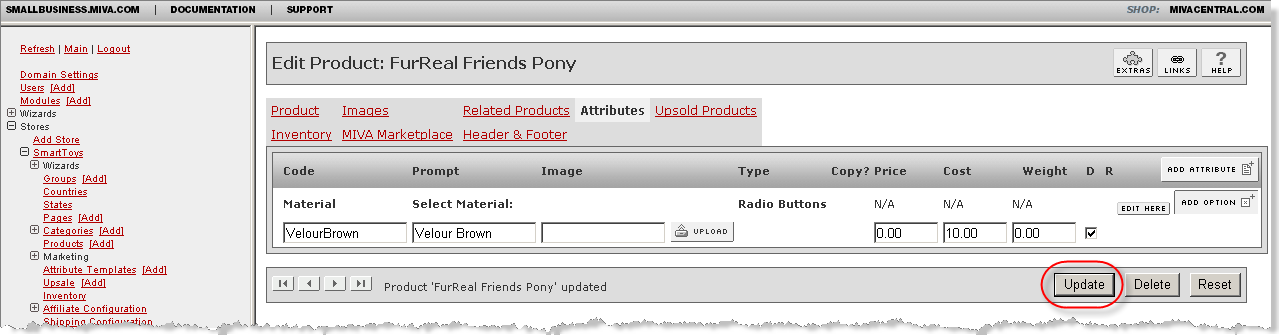
11. After you finish entering the Product Attribute Parameters, save the data by clicking on the “Update” button.
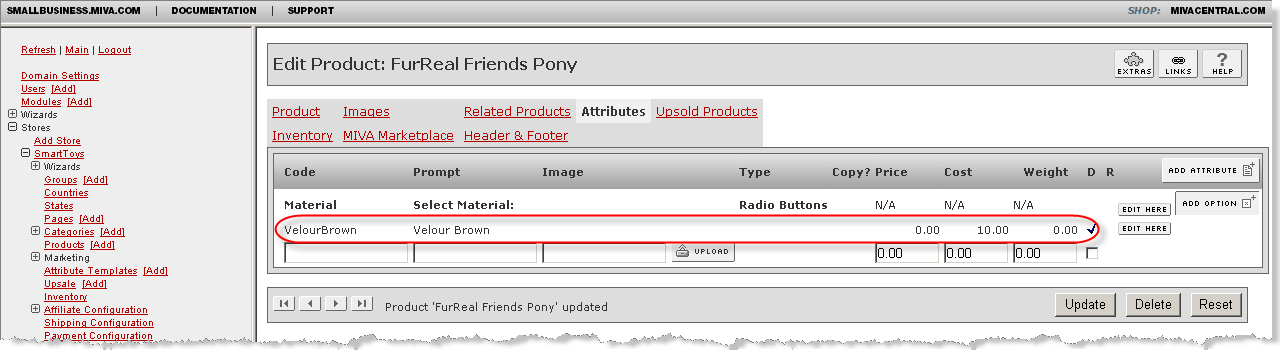
12. After you click on the "Update" button, the newly created Option is displayed in the table.
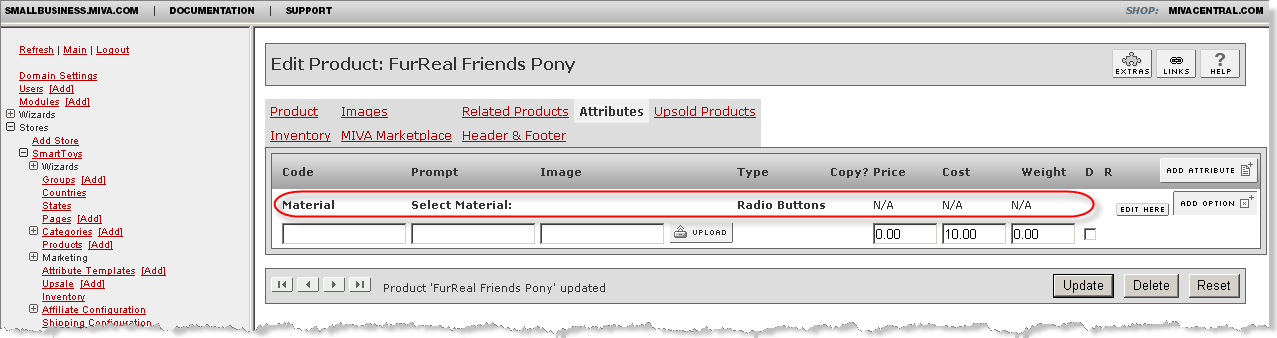
For Radio Buttons and Drop-down Lists, the next step will be to define the possible Attributes that can be selected by your customers. A new line for you to enter the Attribute Options is displayed under the newly entered Option name.
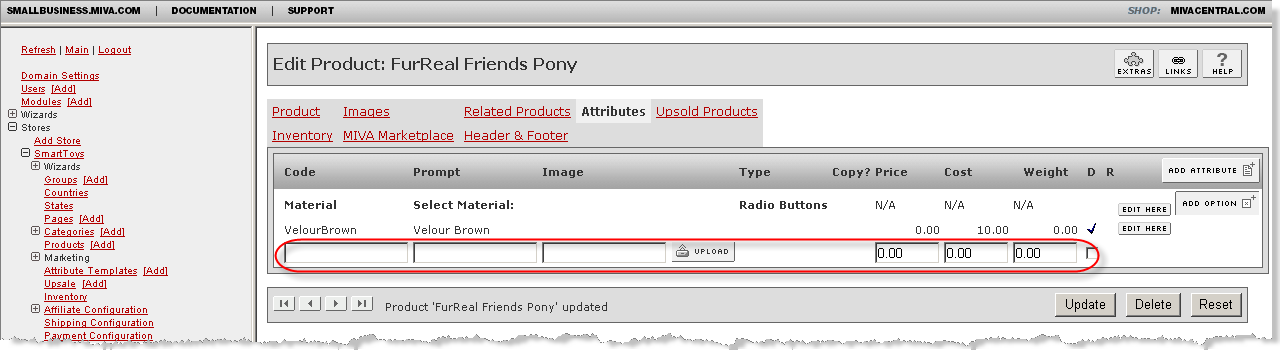
Notice: Now the "Add Option" button is pressed.
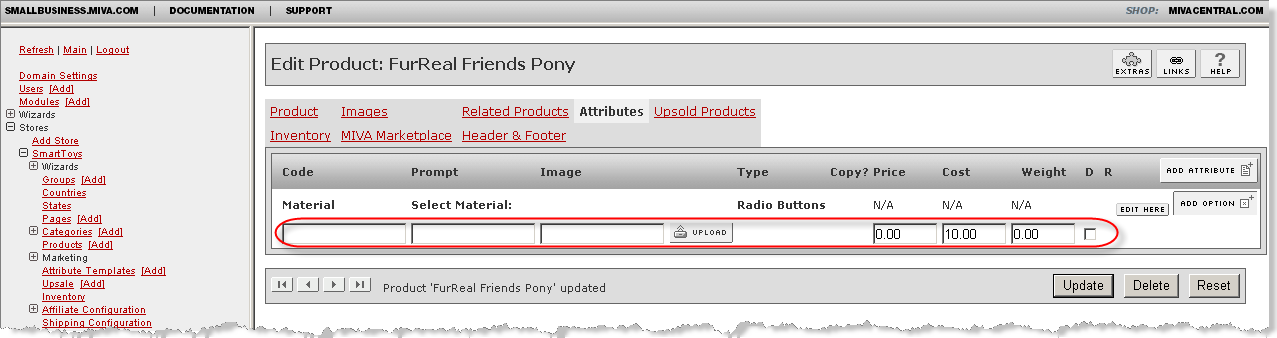
14. Enter the Attribute Option details in the appropriate fields. Refer to the field explanations provided above.
Example:
Attribute Option1: Code: SizeXXXL, Prompt: XXXLarge
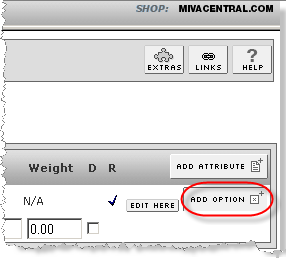
15. Save the Attribute Option by clicking on the “Update” button.
16. The Options you enter will be displayed under the Attributes.
17. A new Option can be added by entering data in the empty fields. You can add as many Options as you need.
Example:
Attribute Option2: Code: SizeXXL, Prompt: XXLarge
Attribute Option3: Code: SizeXL, Prompt: XLarge
Attribute Option4: Code: SizeL, Prompt: Large
Attribute Option5: Code: SizeM, Prompt: Medium
Attribute Option6: Code: SizeS, Prompt: Small
Note: The Order Manager System Parameter SubSKUOptionLimit limits the greatest number of Option lists. Sub-SKUs will not be built for products with more than the specified number of Option lists. The default (and recommended) value is 3. Read more in 3.6 Defining Other Parameters Related To Sub-SKUs.
18. After you are finished working with the current product, you can define Attributes for other products.
Note: Use the Navigation pane to access the summary page for the next product.
19. After you have defined all Attributes, proceed to the next step. See Setting Up Inventory Tracking.
![]() Proceed to the next document: 1.4 Creating Product Attributes Templates
Proceed to the next document: 1.4 Creating Product Attributes Templates
See Also: