
Overview
Stone Edge uses the Connect2Cart service to access Adobe Commerce stores via a real-time API. The integration allows you to import orders from Adobe Commerce, synchronize stock levels, and send status updates from Stone Edge to Adobe Commerce in real-time. Connect2Cart (C2C) accesses Adobe Commerce via their API with a predefined username and password. The steps below will walk you through creating a user role and a user account that Connect2Cart will use to communicate with your Adobe Commerce store.
System Requirements
Adobe Commerce is an open source ecommerce platform, with a plethora of 3rd party modules available. To ensure compatibility and an “out-of-the-box”/turn-key integration, please verify the following system requirements. If you do not meet the requirements below, you may require some modifications in order to have a working solution.
Payment Processors
The following payment modules have been tested to work with the Adobe Commerce Connect2Cart integration:
- authorizenet_directpost
- authorizenet_acceptjs
- nmi_directpost
- verisign
- authnetcim
- cashondelivery
- payflow_express
- paypal_express
- paypaluk_express (no values only credit card type)
- checkmo
- gene_braintree_paypal
- usaepay
- zs_usaepay
- humcommerce_usaepay
- braintree
- braintree_paypal
- m2epropayment
- free (store credit)
- squareup_payment
- subscribe_pro
SSL
All stores, even test stores, must have a valid SSL certificate. We must be able to connect to your store with a URL beginning with “https://”.
Other Considerations
Any customizations that you’ve made to your Adobe Commerce store may require us to also modify the integration in order to access your data correctly. Any data stored in non-standard fields should be tested.
Adobe Commerce integrations with any add-on modules should be tested for correct behavior and data mapping. Other areas such as payment processing (including store credits and reward points), bundles, configurable items, and kits are all easily impacted by add-on modules or non-standard configurations in Adobe Commerce. Care should be taken to thoroughly test these parts of the integration.
Contact sales@stoneedge.com for discussing any customizations.
Creating Access Credentials
- Login in with an Admin account to your stores’ admin area. You must log in with an Administrator account or an account that has sufficient privileges to create new users and roles.

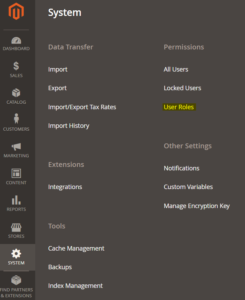
- On the left-hand menu, click “System” then “User Roles”.
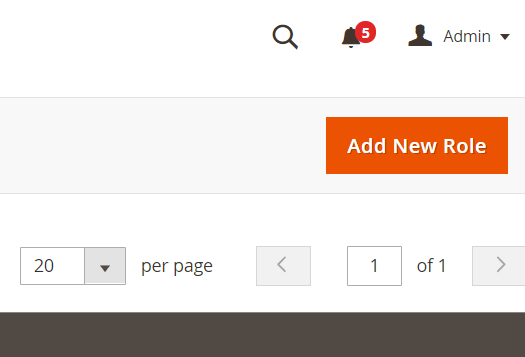
- Click “Add New Role” (upper right hand)
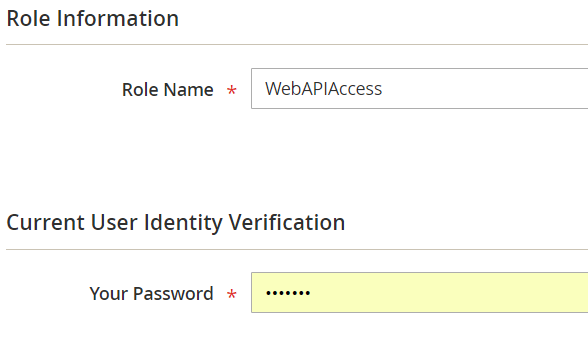
- Create a new role name in the Role Name Field. We recommend a name like “WebAPIAccess” so you can easily identify that role. Then enter the password of the account that you are logged in with. Finally click “Save Role”.
- You will be brought back to the list of Roles. Find the role that you just added and click on it.
- Now add the required access. Check “Sales”, “Catalog”, and “Store”, then click the “Save Role” button.

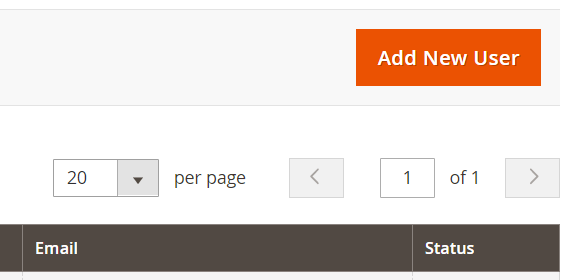
- Next, create a user account for Connet2Cart. On the left-hand navigation bar, click on “System”, then “All Users”, then “Add User”.
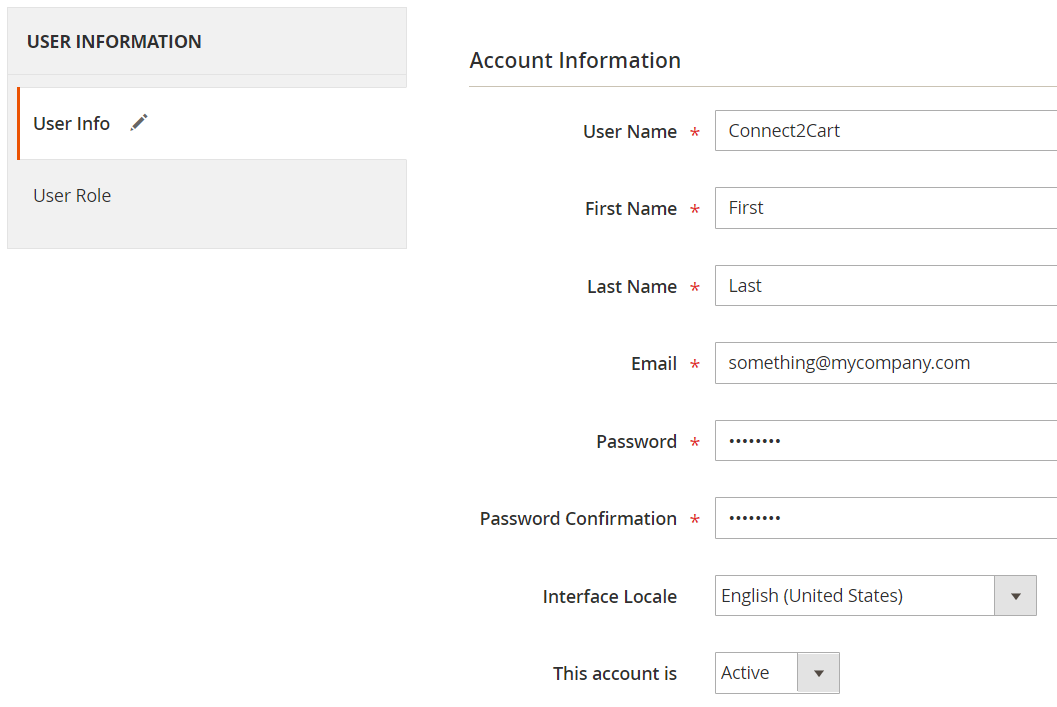
- Fill the required information for the user account on the “User Info” tab. We recommend using “Connect2Cart,” or something similar, for the User Name for easy identification.
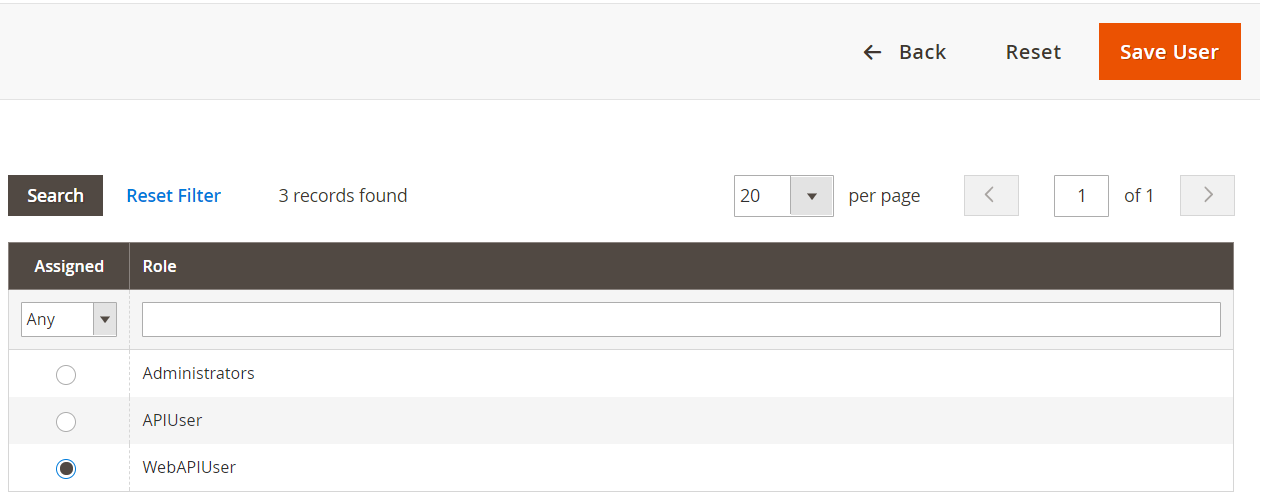
- After all the information is filled in, click on “User Role”. Select the role created earlier and press the Save User button.

- Send the Username and Password that you just created to your Stone Edge contact to have the service configured.
Create an API Token
- Follow the steps under “Integration Token” to create an API token: Token-based authentication | Adobe Commerce Developer Guide (magento.com)
- Send all 4 Tokens to Stone Edge as plain text to have the service configured.
- Go to your Adobe Commerce admin page and follow the path: Stores -> Configuration -> Services -> OAuth -> Consumer Settings
- Set option “Allow OAuth Access Tokens to be used as standalone Bearer tokens option” = Yes
Configuring Stone Edge
Once your store is integrated to the Connect2Cart Service, you can finish the setup be following these instructions: