
Note: Screenshots are from Stone Edge Version 7.732, Access 2021, Windows 11 Pro
Note: Screen size can alter the layout of the manual orders screen. All screenshots were from a display with 1920×1080 resolution.
Overview
Creating a new order for existing customers within Stone Edge is quick and simple and will save you time. Note: The orders placed within Stone Edge can be attributed to a sales channel but will not send the order up to the web cart since no Web order is generated when the order is created within Stone Edge.
Prerequisites
- SKUs must be present within Stone Edge.
- Shipping needed to be set up to rate shop for shipping. See the setup Article here.
- Third-Party payment processors must be set up if you are planning on charging credit cards thru Stone Edge.
Navigation
- Main Menu > Create New Order Accordion > Select Either “For an Existing Customer.”
OR
- Main Menu > Create a New Order Icon.
Creating a New Order
Existing Customer
Depending on the navigation path you choose for an existing customer, the screens might be slightly different. Both paths are outlined below.
Navigation Path: Create a New Order Icon
This icon will open the manual order screen with no information populated.
- To search for an existing customer:
- Select the Magnifying glass either next to or below the “Bill to.”
- Search for the customer by name or customer ID number.
- For multiple records or customers with similar names, you will be asked to select a customer.
- Then confirm the account information.
Navigation Path: Create a New Order Accordion > For Existing Customer
- The Search Window for existing customers will open.
- You can search by any field to locate the customer record. A customer ID or Phone number is recommended.
- If more than one customer has the same name or other matching information. You will be given a screen to select the customer that matches what you want manually.
Creating a New Order
Existing Customer
- Follow either navigation path described above you will direct to the manual orders screen.
Add Products
- Find SKU to add to the order.
- Use dropdown/textbox to look up SKU (based on parameter ManualOrderSKUFieldType)
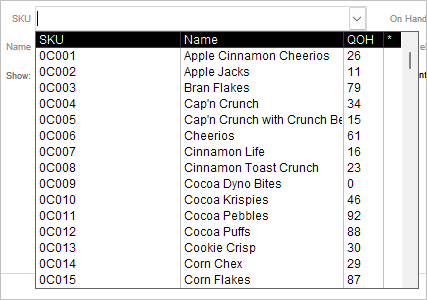
- Click “magnify glass” to open advanced search.
- Click “+” to add a new inventory item.
- Click “dot grid” opens a pop-up to add multiple items.

- Use dropdown/textbox to look up SKU (based on parameter ManualOrderSKUFieldType)
- Choose QTY to add.
- Enter any item-level discounts if needed.
- Click “Add Item”
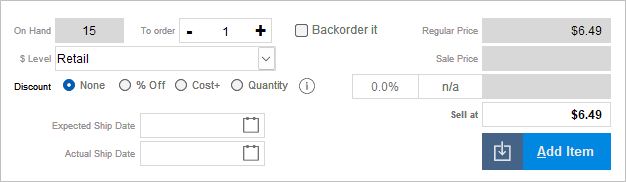
- Edit/delete items if a mistake is made.
- Click “Delete” by clicking the “v arrow” next to the item on the left to remove an item.
- Click “Quantity” to change the number of items on order.
- Click “dollar amount” under the “Price” column to edit the price of an item.
NOTE: You cannot edit the dollar amount under the “Total” column.
*NOTE: Drop Shipped items will be highlighted in blue; Out of Stock will have the QTY in red*
- Repeat for all items being ordered.
Choose Shipping Method
- Click the “Payment” tab.
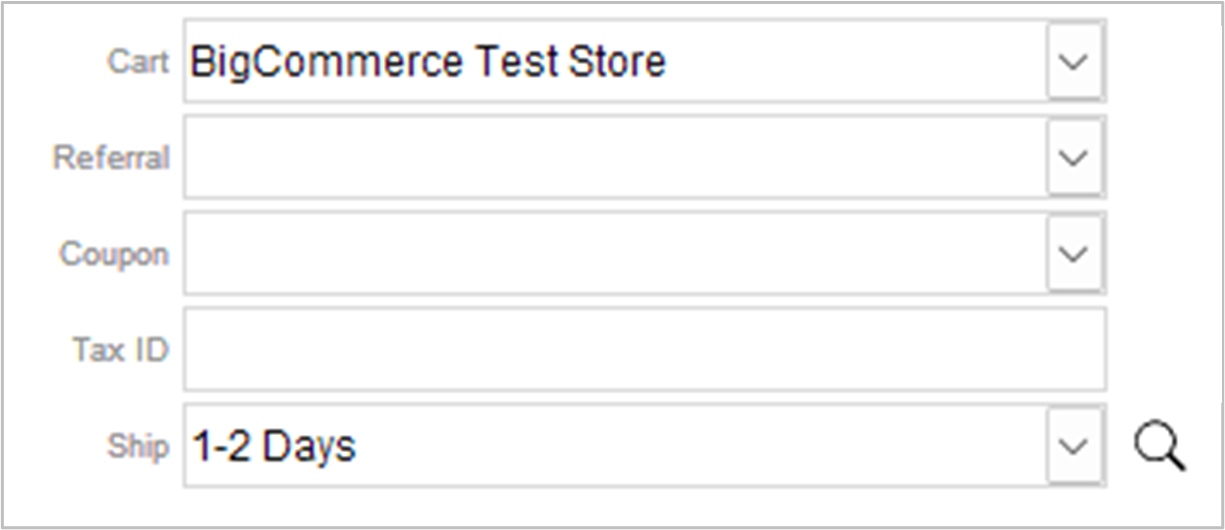
- Choose a Cart if desired.
- Choose shipping method -> Rate shop if desired
NOTE: Shipping Settings must be set up prior to order creation- Will automatically change shipping amount in total if rate shopping (can manually remove)
- Package size and weight must be entered to rate the shop
Extra Order Details
Note: Optional, not required to complete order creation.
- Coupons, Discounts, And Tax-Exempt ID.
- Use the dropdown to select a coupon for an order if desired (coupons created in settings -> order functions).
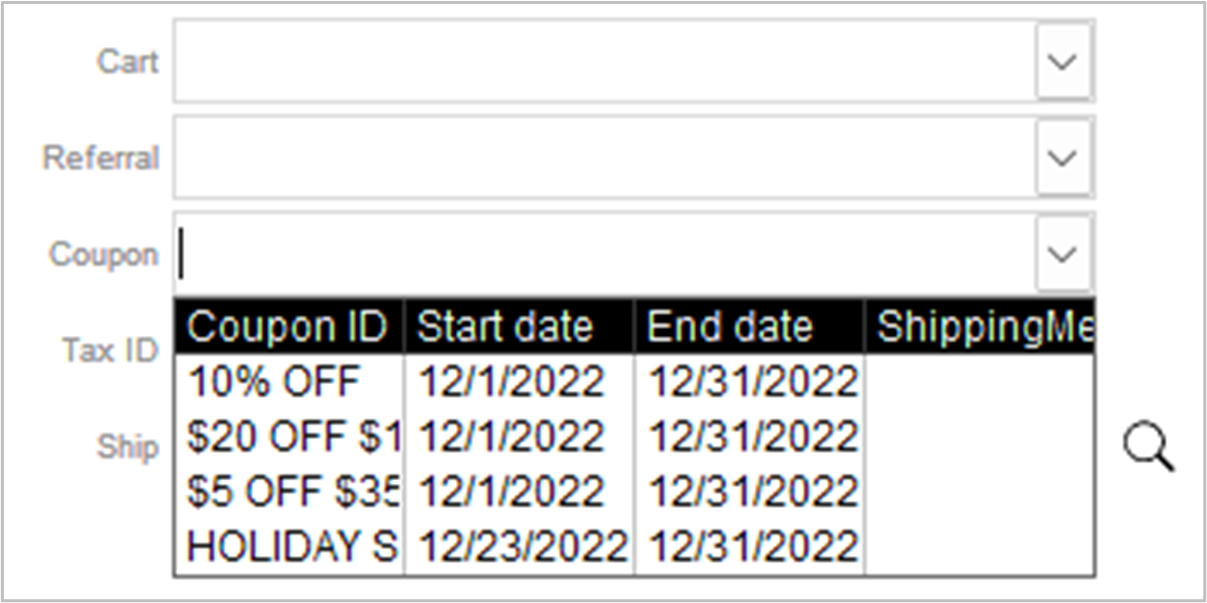
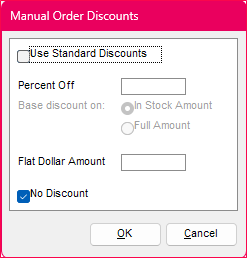
- Click the “Discount” checkbox to add an order level discount in the order total area.
- Enter the Tax-exempt ID for the customer if applicable (unselect “Taxable” in order total area)
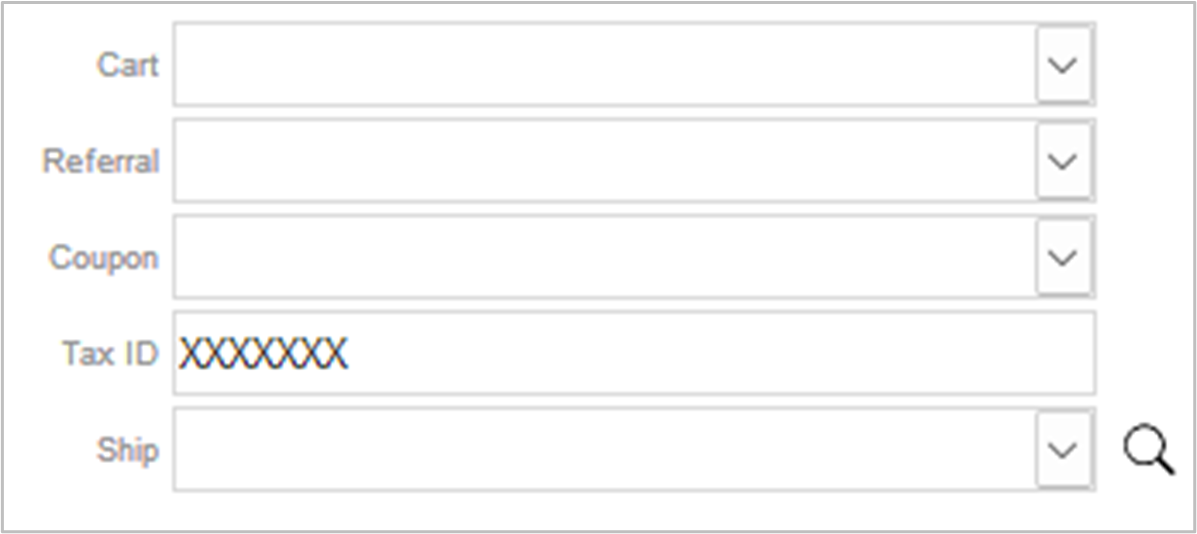
- Use the dropdown to select a coupon for an order if desired (coupons created in settings -> order functions).
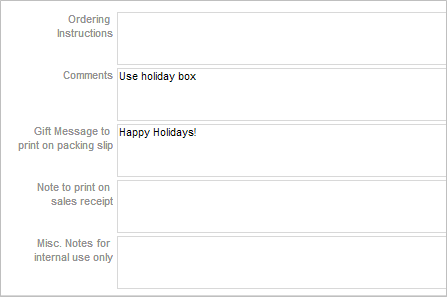
- Order Message and Notes
- Click the “Msgs & Notes” tab.
- Enter any notes regarding the order.
Adding a Payment Method
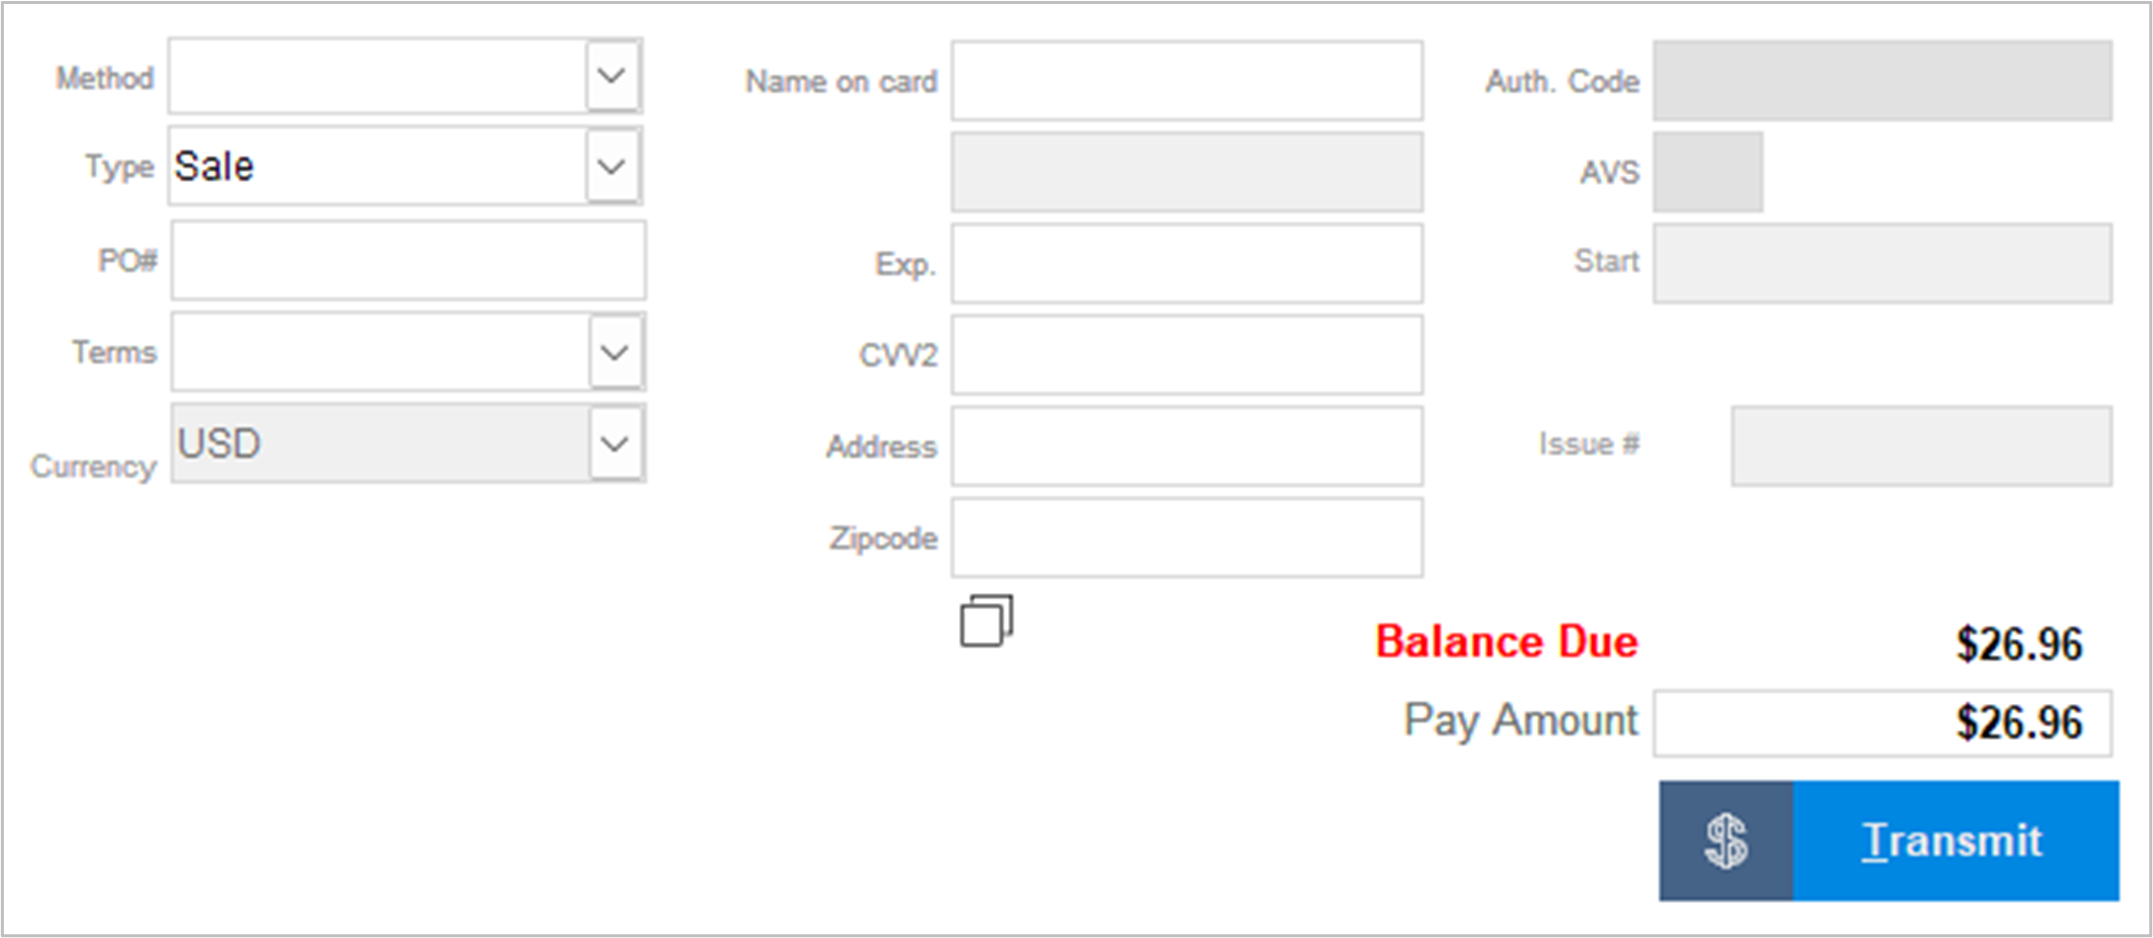
- Click the “Payment” tab
- Choose payment method with dropdown.
- Credit cards can be charged if the payment gateway is set up.
- PayPal Payments Pro and PayPal Pay Flow Pro – Allow for Reference transactions.
- Other payment gateways: Auth.net, Braintree,
- Outside payment can be recorded
- Create new methods in settings: Data Functions -> Payment Methods
- Credit cards can be charged if the payment gateway is set up.
- Fill in any required information
- Click “Transmit” OR “Save”
Submitting an Order
- Click the green “checkmark” in the top-right corner to save the order.

- A pop-up appears for print and approval options.
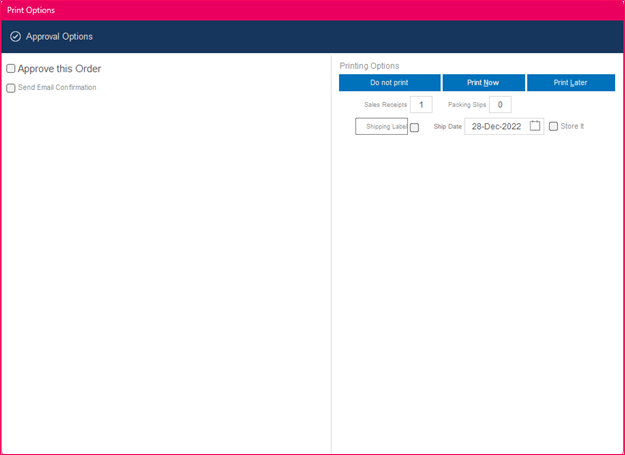
- Toggle “Approve this Order” to automatically approve orders.
- Optional to send an email confirmation with order approval. This can be used if you have completed the order and it does not need further review. So, a CSR can send an Email confirmation that their order has been processed.
- Choosing the number of sales receipts and packing slips needed for the order can be done at this screen prior to approval.
- If checked to print a Shiping label (only if the internal shipping system is setup)
- Package weight and dimensions are needed for accurate rate shopping.
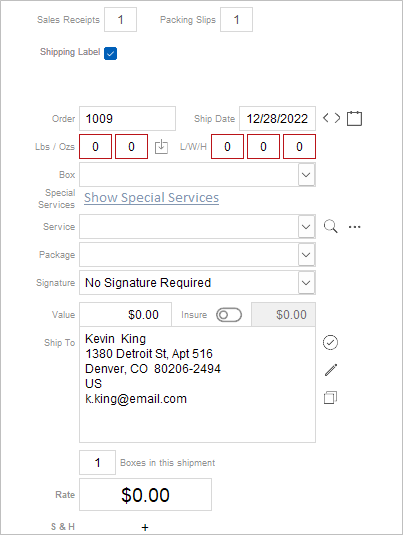
- Package weight and dimensions are needed for accurate rate shopping.
- Click one of the print options (blue buttons).
- Do not print -> Saves the order without printing.
- Print Now -> Saves the order and prints immediately.
- Print Later-> Saves the order and sends documents to the print queue.
- Order will be saved, and a Stone Edge order number will be Created.
- If the order is not approved, then you will need to approve the order in the “Process My Orders” screen. If the order was approved, then you can go to “Ship My Order” to pack and ship Your order.