
Using the Custom Report Maintenance Interface
Importing a Custom Report from the Custom Reports Database into the SEOM Program File on the Current Workstation
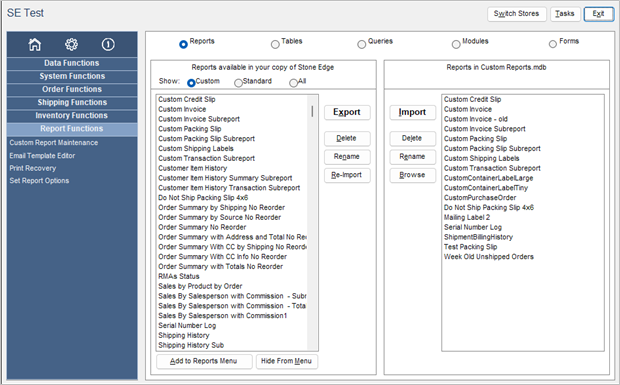
- Settings -> Report Functions -> Custom Report Maintenance
-
Click on the name of that report in the list box on the right-hand section of the screen to select it.
-
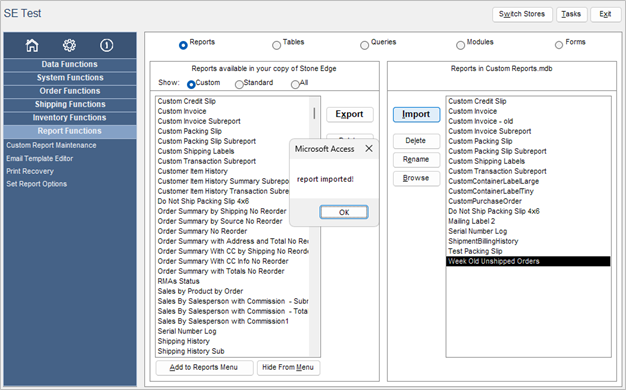
Click “Import” and the report will now appear in the list box on the left-hand section of the screen (Reports available in your copy of SEOM).
Exporting a Custom Report from a SEOM Program File to the Custom Reports Database (Custom Report.mdb)
Adding a non-standard or modified report to the Custom Reports database is the opposite of the process that was described in the previous example. Let’s assume that we have made a change to the Custom Credit Slip report that was just imported into the program file of the current workstation. In order for all of the other workstations in the configuration to use the updated report, it needs to be exported to the Custom Reports database. Once that has been done, the report can be imported from the Custom Reports database into the program file on each workstation, as described in the previous example.
How to export a report from a program file to the Custom Reports database:
- Select the report to be exported from the list in the left-hand section of the screen. For this example, we will use the report, Custom Credit Slip.
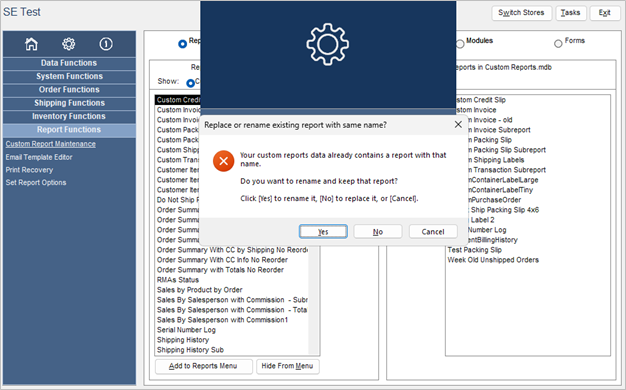
- Click the “Export” button and if a report by that name does not exist, the report will be immediately copied to the Custom Reports database and will be displayed in the list box on the right-hand side of the screen. If, however, there is already a report in the Custom Reports database with the same name, the program will prompt the user how it should proceed:
-
- Yes – Rename the report that is already in the Custom Reports database by appending “Backup x” to the end of the name; where x is a numeral that indicates the number of times the same report has been exported using this option.
- No – Replace the report that is in the Custom Reports database with the copy that is coming from the program file; the name of the report will remain the same and no backup copy will be made by the program
- Cancel – abandon the action of copying the report to the Custom Reports database
- Click the action button of choice. For this example, we will select “Yes”, to demonstrate the naming convention used by the program:
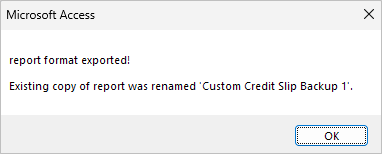
- Notice that Custom Credit Slip Backup 1 has been added to the list box on the right-hand side of the screen and there is also a report with the original name, Custom Credit Slip. The former is the report as it previously existed in the Custom Reports database prior to the export function and the latter is the report in the form as it came from the program file of the current workstation. Be sure that the report is exported to the Custom Reports database from the workstation that was used to make the changes to the report.
- If other workstations should begin using this updated copy of the report, refer back to the previous section that describes how to import a custom report and repeat those steps on each workstation.
Deleting a Report through the Custom Report Maintenance Feature
- Select the report to be deleted in the appropriate side of the screen:
-
- Left-hand side of the screen represents the reports that are in the program file of the current workstation
- Right-hand side of the screen represent the reports that are in the Custom Reports database
- Click the “Delete” button associated with the side of the screen.
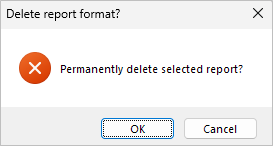
- The program will prompt the user for confirmation before deleting the report.
Renaming a Report through the Custom Report Maintenance Feature
- Select the report to be renamed in the appropriate side of the screen:
-
- Left-hand side of the screen represents the reports that are in the program file of the current workstation
- Right-hand side of the screen represent the reports that are in the Custom Reports database
- Click the “Rename” button associated with the side of the screen.
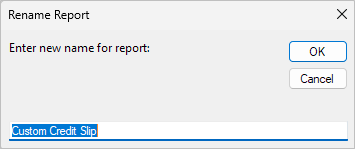
- The program will open a dialog box where the user can change the name of the report. Click “OK” to make the change or “Cancel” to abandon making the change.
Re-importing a Report through the Custom Report Maintenance Feature
Using the Re-Import button on the left-hand side of the screen basically accomplishes the same thing that the Import button on the right-hand side of the screen does. A copy of the selected report will be pulled from the Custom Reports database and placed it in the program file of the current workstation.
- Select the report to be re-imported in the left-hand side of the screen.
- The program will prompt the user how to proceed:
-
- Yes – Rename the report that is already in the program file by appending “Backup x” to the end of the name; where x is a numeral that indicates the number of times the same report has been exported using this option.
- No – Replace the report that is in the program file with the copy that is coming from the Custom Reports database; the name of the report will remain the same and no backup copy will be made by the program
- Cancel – abandon the action of copying the report to the program file
- When clicking “Yes”, the program will append “Backup x” to the name of the report, where “x” is a numeral that indicates the number of times that a report of this name has been re-imported.
- Click “OK” to finish.
Import a Custom Report from an External Source (Browse button)
If the user has contracted a third party to create a custom report (and/or other components), chances are that they will distribute those objects to the user in an “external” file or database. “External” is defined as a file that did not come as part of the SEOM application.
In order for SEOM to access those components, they must be imported into the Custom Reports database or the program file. The Custom Report Maintenance screen provides the means to accomplish that goal.
This example refers to importing reports, but the same instructions apply to importing other object types, such as tables, queries, or modules. To import those other object types, select the appropriate radio button at the very top of the screen before beginning the following process:
- Click the “Browse” button and navigate to the location of the external file that contains the custom components and open it.
- The contents of the external file will then be displayed in the list box on the right-hand side of the screen, according to the object type that is selected at the very top of the screen (Reports, Tables, Queries, Modules or Forms).
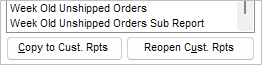
- At that time, two other action buttons will become visible at the bottom of the right-hand list box:
- Copy to Cust. Rpts
- Reopen Cust. Rpts
- Do one or both of the following:
- Select a component from the list in the right-hand window and click “Import” to copy the component directly to the program file on the current workstation.
- Select a component from the list in the right-hand window and click “Copy to Cust. Rpts” to copy the component directly to the custom reports database
- Click “Reopen Cust. Rpts” when all desired custom components have been retrieved from the external file. The list box in the right-hand side of the screen will once again reflect the contents of the Custom Reports database.
- To propagate the newly imported custom components to other workstations in the configuration, refer to the instructions earlier in this article that describe the process of importing a custom report. Repeat those directions for each component type on all workstations.