
Overview
- To allow Stone Edge to get and manage orders from Shopify, you will have to create a Custom App to enable access to your data.
- The instructions below will show you how to make the Custom App with the correct permissions and what information you need to send to Stone Edge to enable the integration.
- The Custom App will NOT work if you are on Shopify’s “Basic” plan.
Generating a Custom App within Shopify
- Login to the Shopify administrative section of your website.
- Open the Shopify Dev Dashboard: https://dev.shopify.com/dashboard
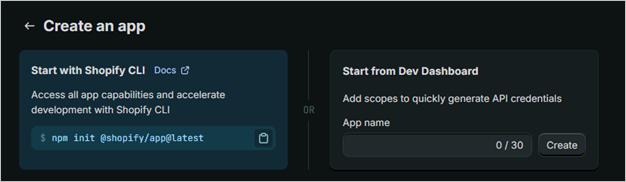
- Click “Create App” in the top-right corner.
- Create an “App name” and click “Create”.
- Scroll down to “Scopes” and add the following text block:
read_fulfillments,write_fulfillments,read_inventory,write_inventory,read_locations,read_merchant_managed_fulfillment_orders,write_merchant_managed_fulfillment_orders,read_orders
- Scroll down and click “Release”.
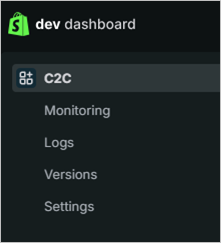
- Click “dev dashboard” in the top-left corner; your apps will be listed on this page.
- Select the app you just created.
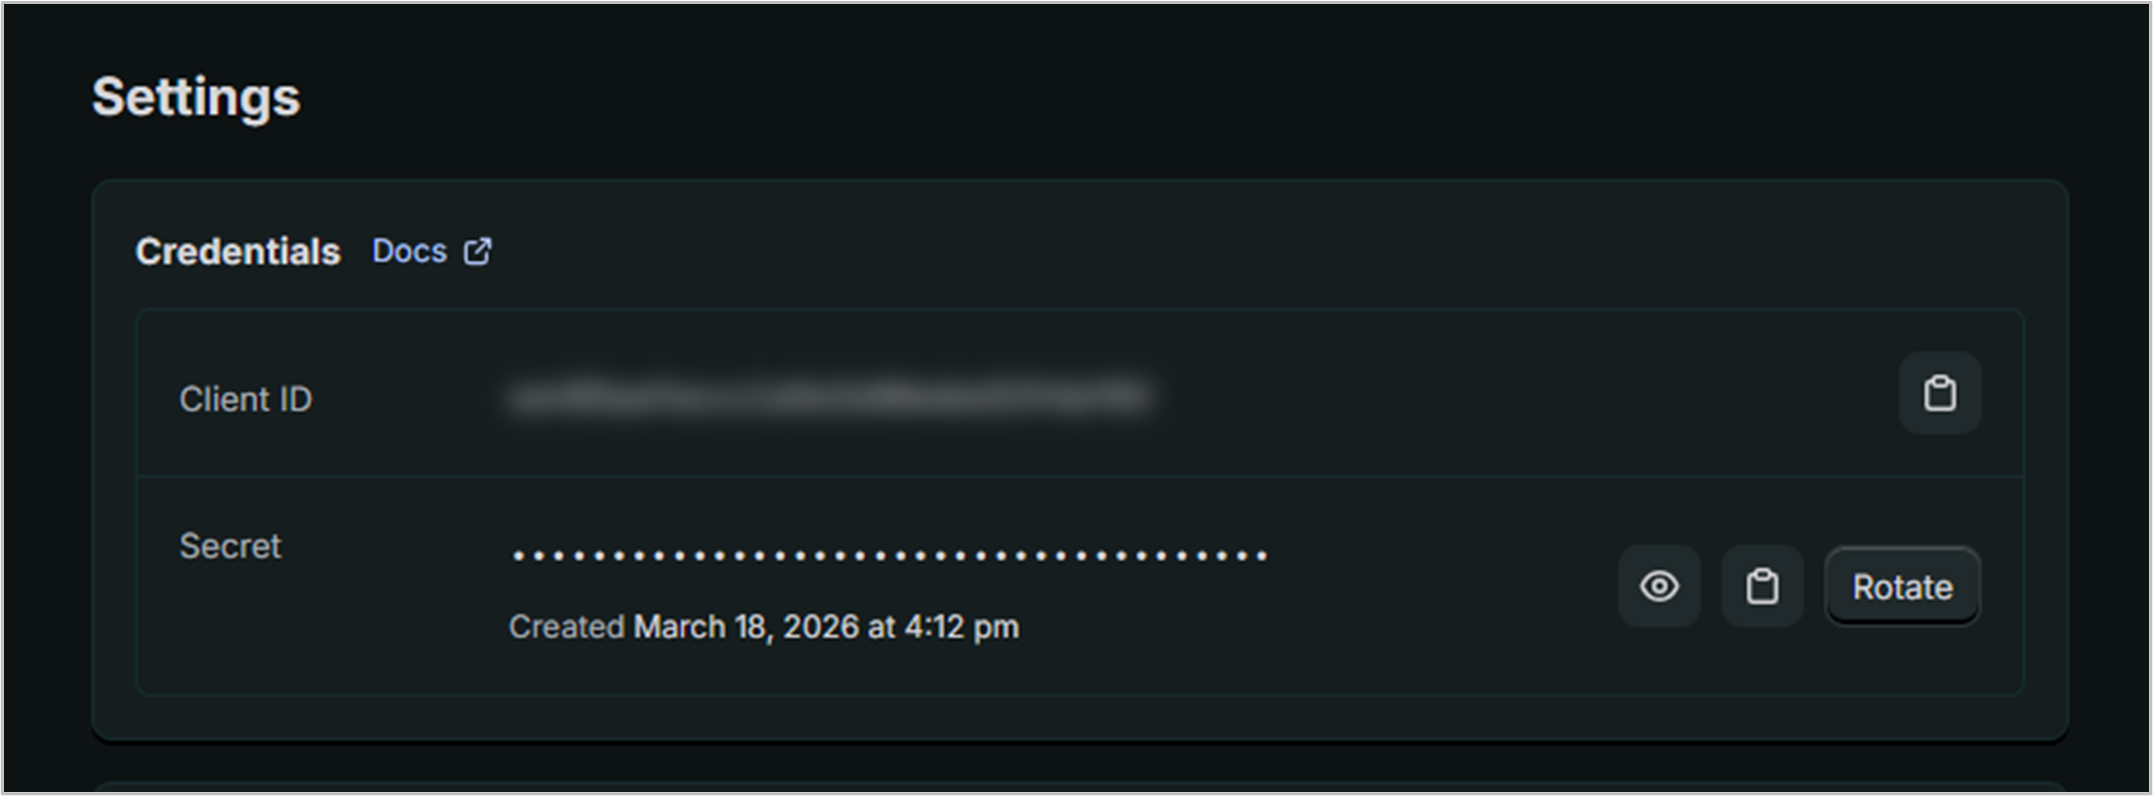
- Click “Settings”.
- A Client ID and Secret will be listed. Save these values for later.
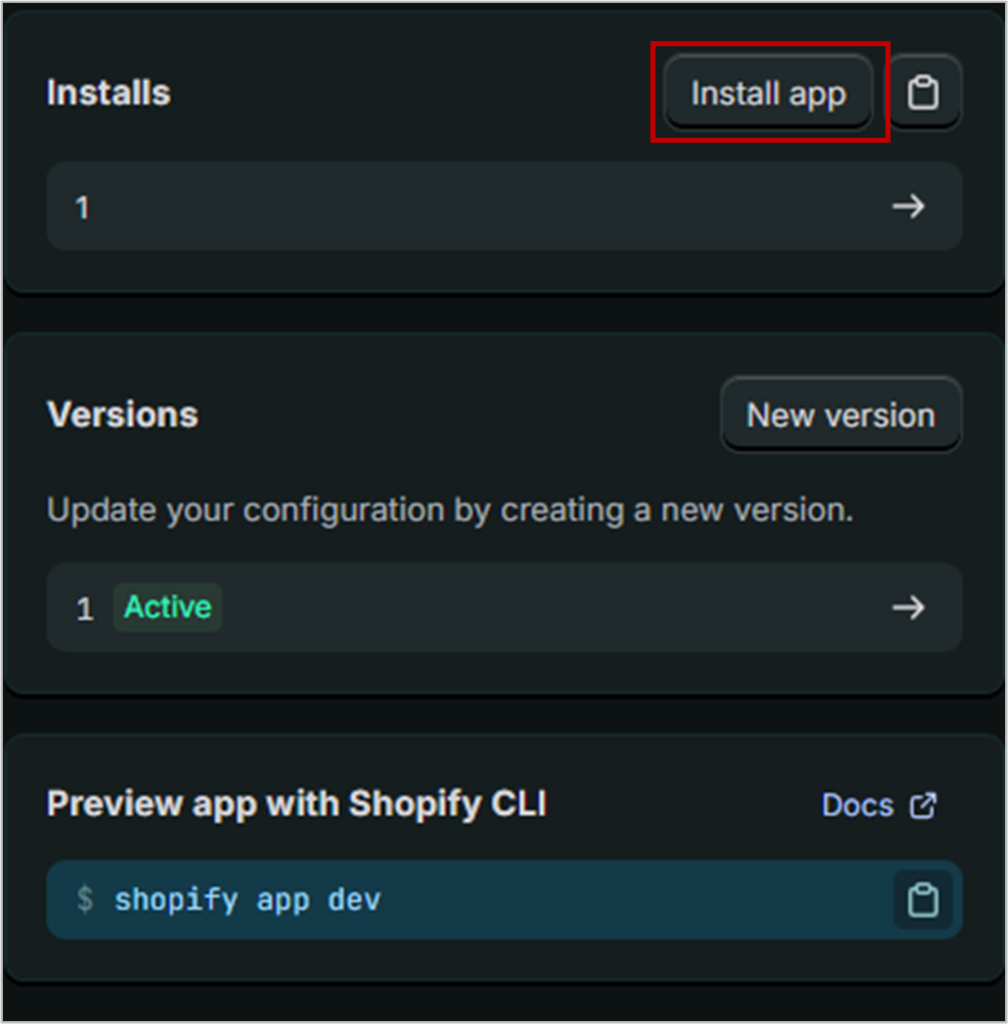
- Click the app name on the menu to return to the “Overview” page.
- Click “Install app” on the right-side of the screen.
- A new page will open; choose your store the app will install to.
- A warning may appear, but that can be ignored.
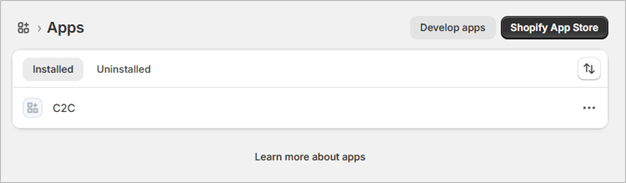
- To confirm the app is installed go to Settings -> Apps and the new app should be listed under the installed list.
- Email support@stoneedge.com with the following:
- Client ID
- Secret
- Shopify Store URL (Where can I find my URL for my online store?)
- Once you send the information, you will get a confirmation from Stone Edge when your integration is ready with your credentials.
- Once you receive the email from Stone Edge, please review Setting Up a Connect2Cart Channel – Stone Edge Order Manager