
Order Manager
Version 8

Order Manager
Version 8
![]() Use the Next Topic and Previous Topic arrows,
Use the Next Topic and Previous Topic arrows, ![]() and
and ![]() , in
the Navigation Pane of the Knowledge
Base to read about each step of the Setup
Guide in sequence. (The buttons are actually white on the black
background of the Navigation Pane.)
, in
the Navigation Pane of the Knowledge
Base to read about each step of the Setup
Guide in sequence. (The buttons are actually white on the black
background of the Navigation Pane.)

Contents of this Topic: Show
Repeat steps 5 - 7 as often as necessary to define your users.
Select Next to proceed to the Sales Tax tab.
Select a State in which sales tax is collected.
Enter a name or "any"(without the quotes) in City.
Enter the percentage of sales tax collected for that nexus in Tax Rate.
Select Tax S & H? if sales tax is collected on shipping and handling charges.
Repeat steps 10 - 13 for each nexus in which you must collect sales tax.
Select Next to proceed to the Shopping Carts tab.
Select an Available Cart Type displays shopping carts for which you are licensed.
Select on the cart type and Add a New Cart appears.
Select Add a New Cart and follow the prompts on the next several screens to enter information about your shopping cart.
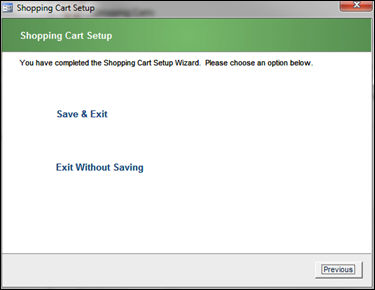
Select Yes and select Next. The screens you see may not match this example exactly as the requirements for each shopping cart are different. Just fill in the requested information at each screen and continue through the setup process.
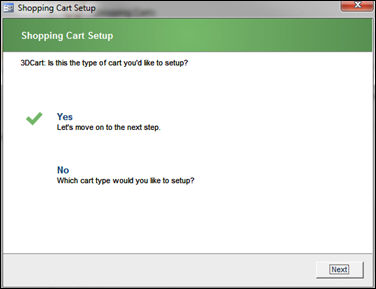
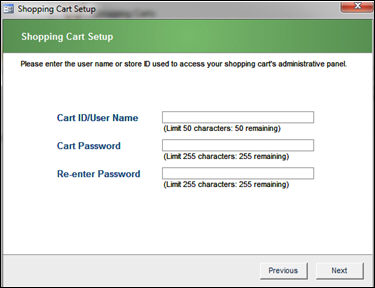
Select Next.
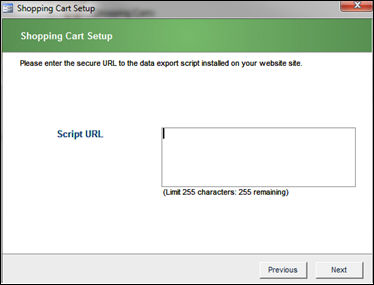
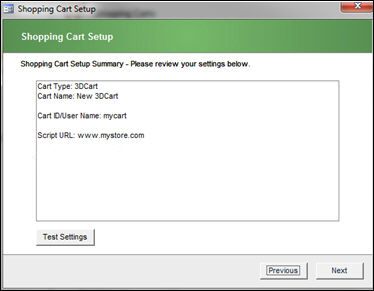
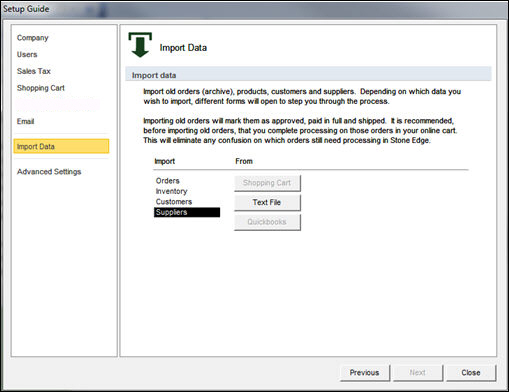
Select Suppliers, select Text File and run through the subsequent screens to import supplier information. Refer to the Knowledge Base topics at the end of this page for more information.
Select Inventory, select Shopping Cart, Text File, or QuickBooks and make the appropriate selections on the subsequent screens to import product information. Refer to the Knowledge Base topics at the end of this page for more information about the different processes mentioned here.
Select Orders and select Shopping Cart and run through the subsequent screens to import order information. Refer to the Knowledge Base topics at the end of this page for more information.
Optional: Select Customers, select Shopping Cart, Text File, or QuickBooks and make the appropriate selections on the subsequent screens to import customer information. Customer records are created when orders are imported, as well. Refer to the Knowledge Base topics at the end of this page for more information about the different processes mentioned here.
Created: 7/11/12
Revised: 1/16/14
Published: 08/19/15