PayPal PayFlow Pro
Contents of this Topic: ShowHide
Overview
This topic describes the steps to create a payment account for PayFlow
Pro (formerly Verisign).
When changes are made in the Payment Module, you must restart Stone
Edge so it picks up the changes.
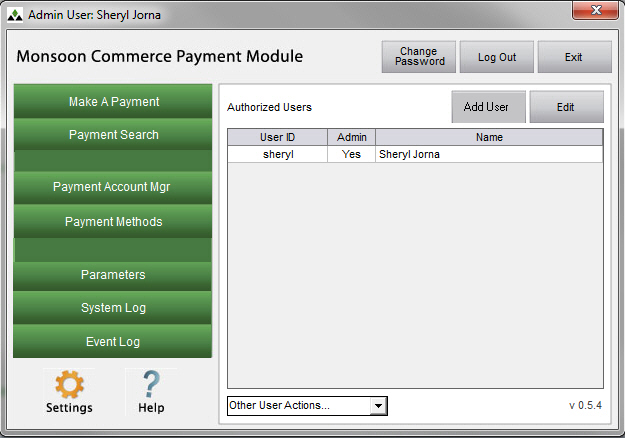
Create the Payment Account
- Log into the program with an
Admin User ID.
- At the Main
Menu, select Payment Account
Mgr.
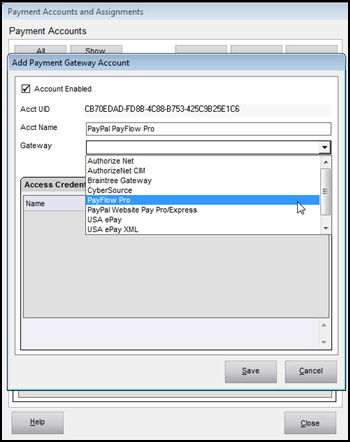
- In the Payment Accounts section of the Payment Account Assignment screen,
click New.
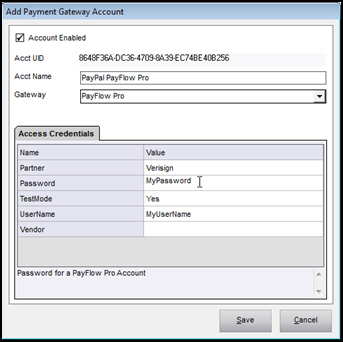
- Enter a unique, descriptive value in Acct Name.
- Select PayFlowPro
from Gateway.
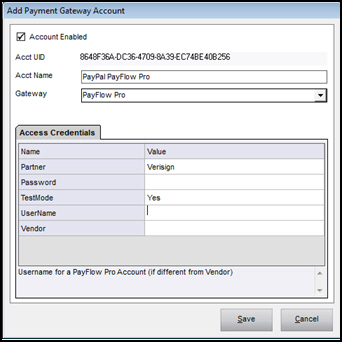
- The Access
Credentials tab now displays fields pertinent to this
payment gateway.
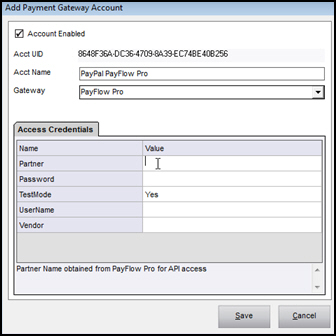
- Double-click in Partner
and enter the partner name for API access. (Verisign for older accounts
and PayPal for
newer accounts.)
- Double-click in UserName
and enter the user name of the PayFlow Pro account. PayPal
recommends creating a second ID for the account and using
those credentials when defining the Payment Account.
- Double-click in Password
and enter the password associated with the PayFlow Pro account.
- Double-click in
Vendor and enter the vendor name to used to establish
the account.
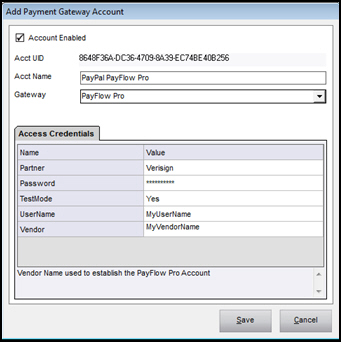
- Select Save.
- When you are done testing with the account
and want to run live transactions, change TestMode
to No.
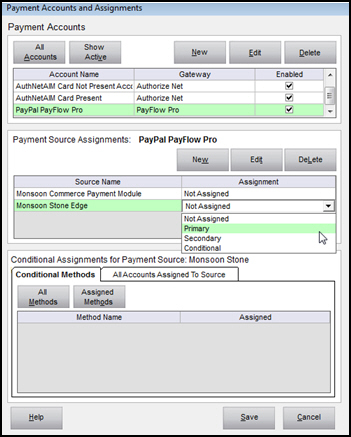
Associate the Account with Monsoon Stone
Edge Payment Source
- Select Payment
Account Mgr on the Main Menu
of the Payment Module.
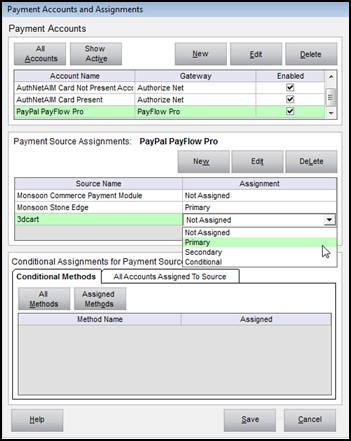
- Select the PayFlow Pro account you just created
in the Payment Accounts section
of the screen. The background of the selected payment account turns
green.
- Then in the Payment
Source Assignments section, select Monsoon
Stone Edge.
- Select Primary
from the Assignment
drop-down list. This payment account is automatically used at the
Payment Terminal when processing payments from this payment source,
unless the Account selection is manually overridden. If the account
is defined as Secondary, the account must be manually selected at
the Payment Terminal to use it to process a payment.
- Select Save.
Associate the Payment Account with a specific
shopping cart
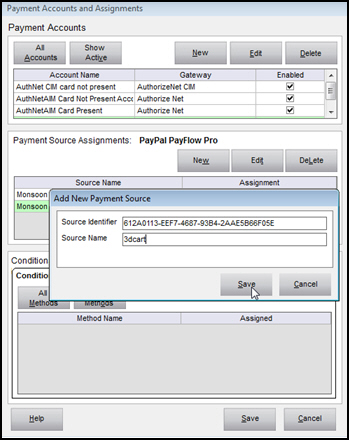
- Define the shopping cart as a payment source.
- In the Payment
Source Assignments section, select New.
- Enter a Source
Name. It is recommended to use the name of the shopping
cart for clarity.
- Copy the Source
Identifier to the clipboard and select Save.
- Leave the Payment Module open and launch
the Order Manager.
- Go to the Special
System Parameters screen in the Order Manager. Main Menu>Quick Clicks>System Parameters>PC
& Cart Based Parameters.
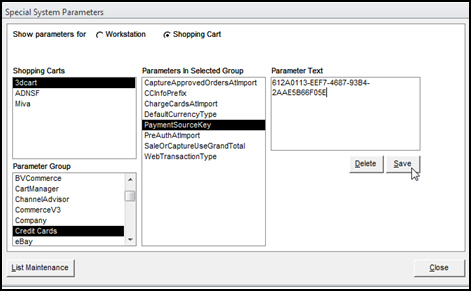
- Select Shopping
Cart radio button in Show
parameters for.
- Select the shopping cart from Shopping Carts.
- Select the
Credit Cards group.
- Select parameter PaymentSourceKey.
- Paste in the Source
Identifier from the clipboard in to Parameter
Text.
- Select Save.
- Return to the Payment Module.
- Select the account you want to use from Payment Accounts.
- Select the Payment
Source you created for the shopping cart.
- Select the account's role from Assignment. It is recommended
to select Primary.
The primary account is automatically used at the Payment Terminal
when processing payments from this shopping cart, unless the Account selection on the Payment
Terminal is manually overridden. If the account is defined as Secondary,
the account must be manually selected at the Payment Terminal to use
it to process a payment.
- Select Save.
Display the sources to which the selected
account is assigned
- Select a Payment
Source in the Payment Source Assignments section of the screen.
- Select All
Sources to display all of the currently defined Payment Sources
for the selected payment account.
Troubleshooting
Error 117: Failed Merchant Rule Check
The account is not enabled for reference transactions.
Additional Information
MCPM
How to Add a Payment Source
MCPM How to Associate Payment Accounts
with Payment Sources
MCPM
How to Edit a Payment Account
Created:
3/8/15
Revised:
3/9/15
Published: 04/13/2016
