
Version 8 FM
Version 8 FM
Contents of this Topic: Show
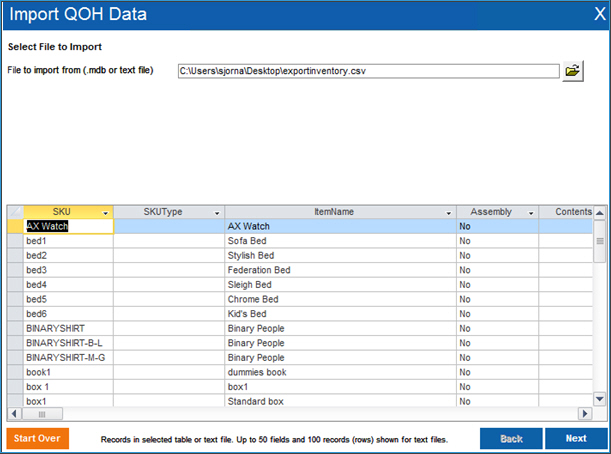
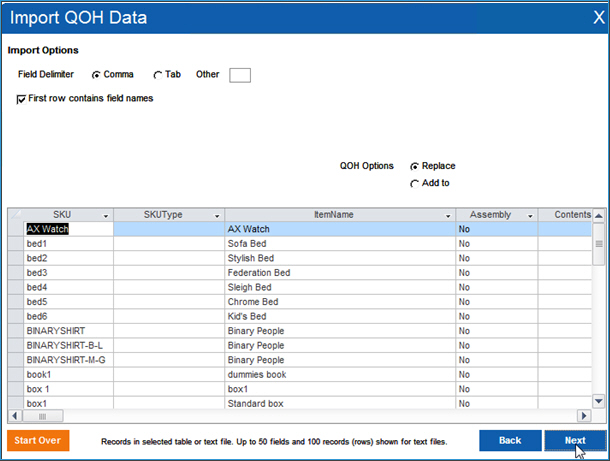
This screen is accessed from Inventory>Import Inventory File. It is used to enter QOH data from a text file when the system is initially configured or from Cycle Counts. It is not possible to import product data other than QOH, and it is not possible any data from a database table, only tab or comma delimited text files.
It is advisable to make a backup copy of your database before importing large quantities of data, and perform this action during off-hours when the program is not being used.
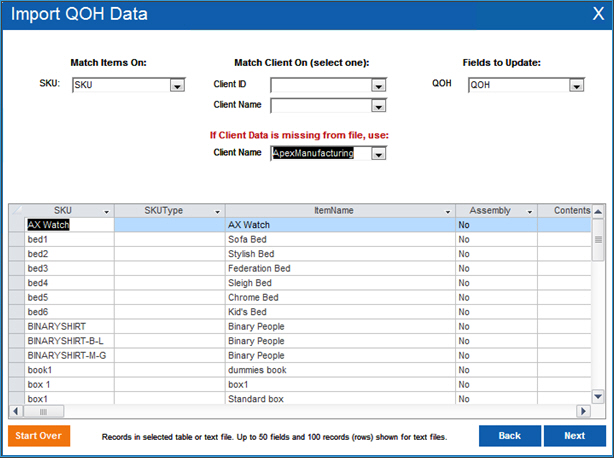
The SKU, Client ID, Client Name, and QOH drops-down lists contain the names of all of the fields in the text file.
Select the field which contains the product stock keeping unit in SKU.
In Client ID or Client Name select the field that identifies the Monsoon Order Manager store. If the file does not include client information, select the client from If Client Data is missing from the file, which contains a list of stores associated with the warehouse. Currently, a warehouse can only be associated with a single client.
In QOH, select the field containing the number of units of a given product.
Select Next to move to another screen and Finish and Import data.
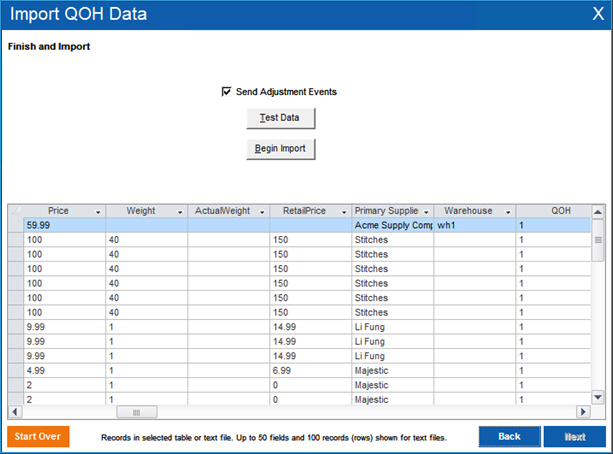
If you are setting up the system for the first time, clear Send Adjustment Events. If you are entering data from a cycle count, Send Adjustment Events should be selected.
Select Test Data and the program checks for some common data errors.
Select Begin Import after any data errors are corrected.
A message box with a summary of the results is displayed.
Created: 6/13/14
Revised: 6/25/15
Published: 08/19/15